Library transformation: paint

This week, I painted the soon-to-be library. If you haven’t yet read my inspiration, I am transforming our downstairs office into a moody blue library.
I started by completely emptying the room (did I mention already that we have a million books?!) It took a bit to find homes for all the books, but I made it happen.

Next up, I patched the holes in the walls. This little all-in-one patching tool was pretty handy and I would use it again!
Of course, the hardest part for me was choosing the color. I grabbed some paint chips and studied them in different lights throughout the day. Since our floors are a deep brown, I realized that I would need a lighter blue than what I first had in mind. Based on the paint chips, I settled on two colors: Behr Midnight Blue and Magnolia Coffee Nook. I took them to Sherwin Williams to color match and returned home to find they were still too dark!

This was when I devised a hack to get to the shade I wanted without extra unneeded samples paint. I already had some white paint on hand, so I began mixing mini shades for myself. I remembed reading on a Studio McGee blog that Shea often goes with a color at 75% strength, which I think is genius. I started there, and kept adding more white paint until I arrived at a shade that looked good. I believe we went with 50% strength in the end – they told me they only do increments of 25, 50, and 75%.
Thank goodness there was a Sherwin-Williams sale going on, as I thrive off deadlines! On the last day of the sale, I went to the store and made friends with the kind man behind the counter. He didn’t bat an eye when he saw my paper plate of DIY paint samples, and got to work lightening the sample can I already had. After taking it home, I decided I loved it, went back, and purchased the Emerald flat and semi-gloss paint I needed. No turning back now! (But I also told myself that it’s only paint, and I could repaint if I needed. This helped me feel good about my decision and move past my analysis paralysis!)
I gathered all the paint supplies I needed:
18” Roller Frame (seriously, this was amazing)
Painting Extension Pole (I already had this, so linking a similar one)
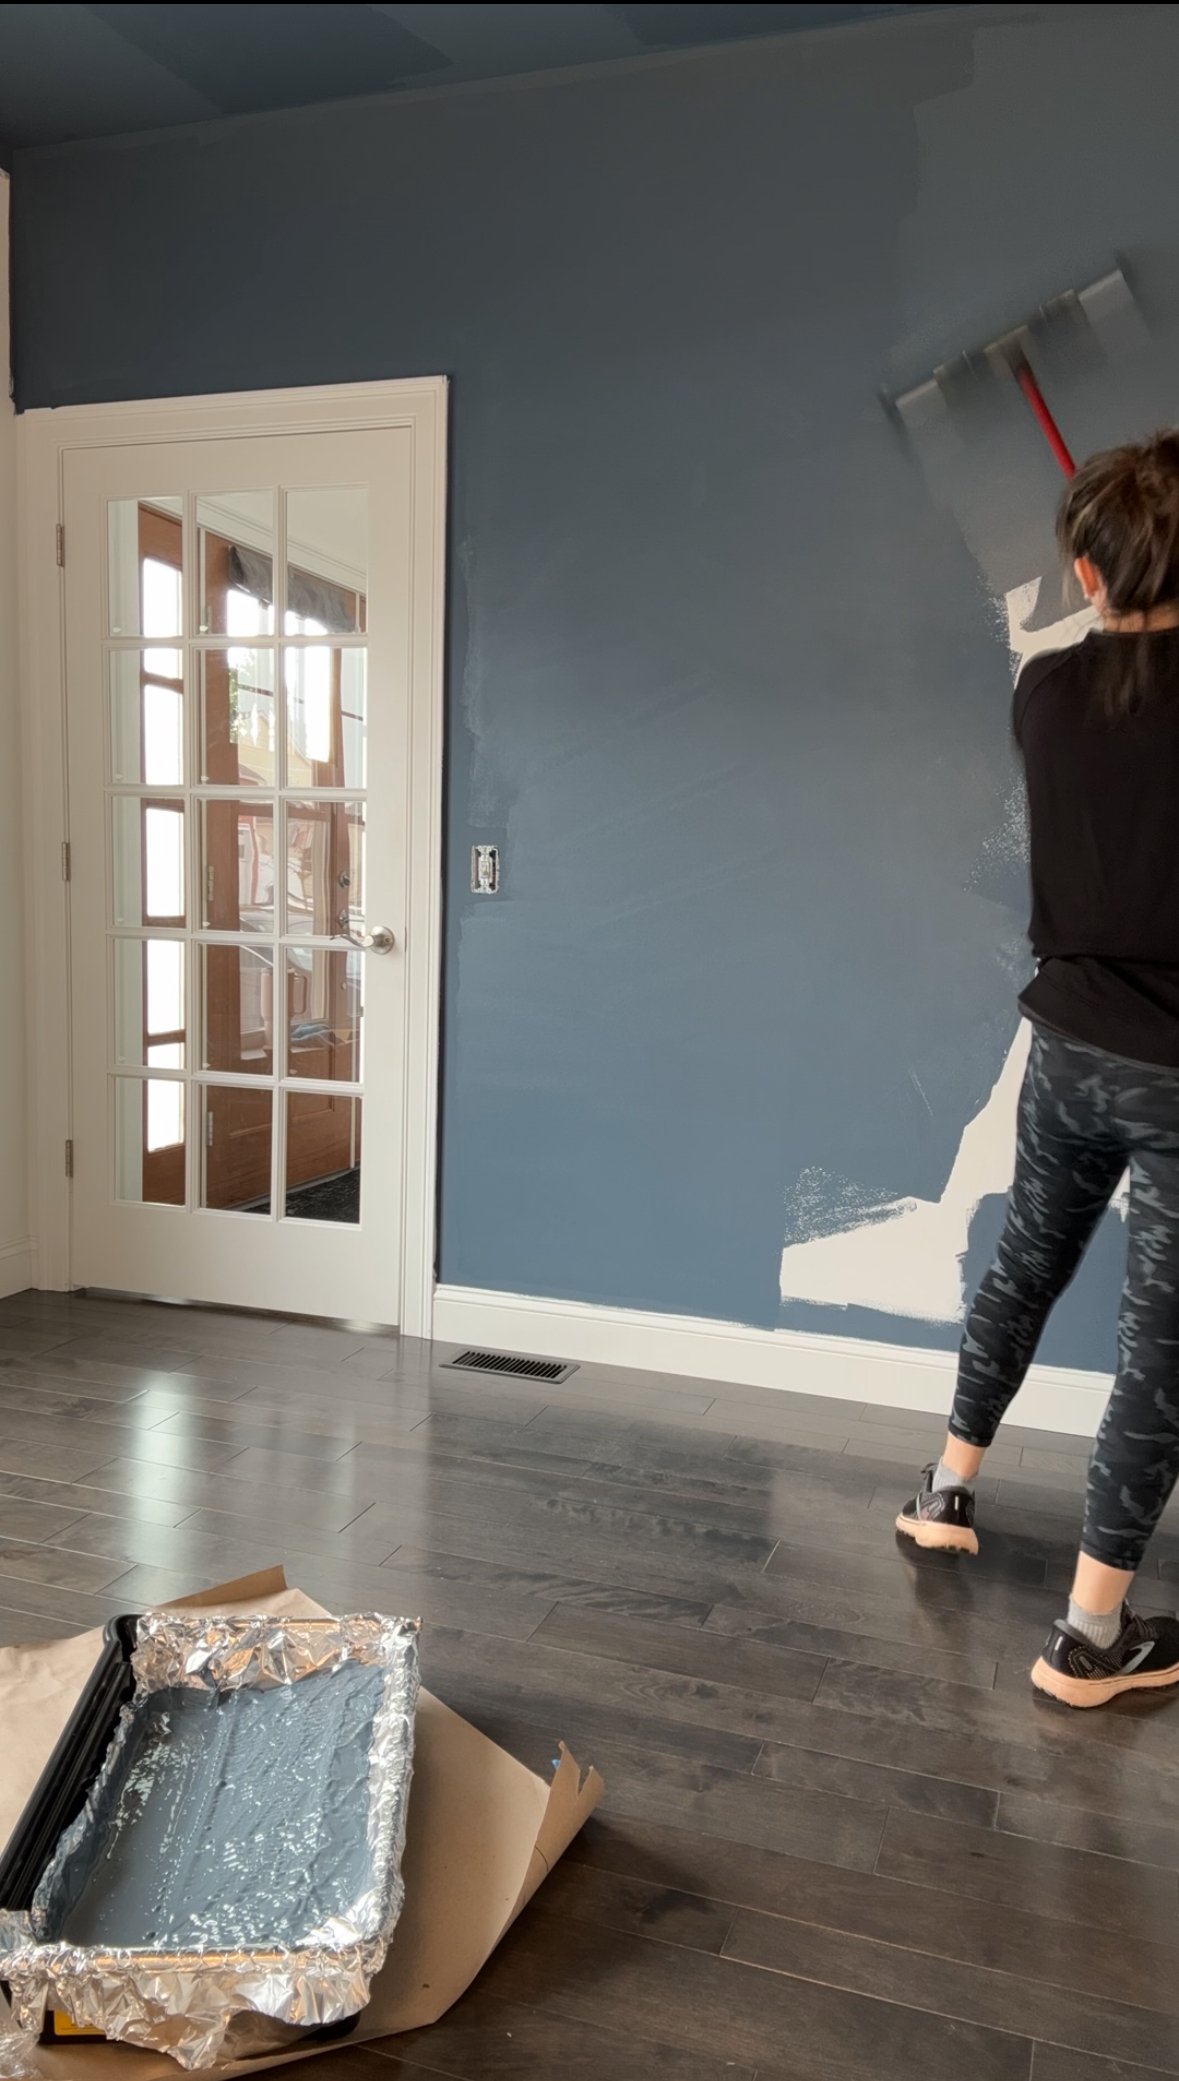
I then got started getting the flat paint on the walls, saving the semi-gloss for the trim, doors, and cabinets (which will come later). With a large 18” roller the paint went up quickly! And what a beautiful transformation it made! Once the color was up, I knew it was the right choice – I love it!
If you’re looking for the final custom color recipe that I landed on, here it is:

Oh, and guess what my number one tip for painting is? Add vanilla extract to your paint for the most amazing smell! I have done this for years and love it so much (it even works with white paint – it does not change the color). After you pour your paint in the tray, add some vanilla extract, straight from the pantry. After you paint, you’ll have a subtle and lovely aroma of vanilla in the air which, in my opinion, beats out the normal paint smell! The scent can stick around for several days or weeks, depending on the room size and how much vanilla you use. I’ll never paint a room without it.

I’m doing this project as part of the One Room Challenge, and couldn’t be more excited and determined to get this room complete within 8 weeks! What makes it so fun is that I'm doing this alongside lots of other amazing designers and diyers! Stay tuned for next week’s adventures where we tackle the base cabinets!