Library transformation: installing the cabinets

We're halfway through the Spring 2024 One Room Challenge, where I've joined a group of fellow DIYers in transforming a room in eight weeks. This week, the goal was to install the cabinets into our Moody Blue Library. Let's recap!
I started by removing the baseboards so the cabinets sit flush against the wall.
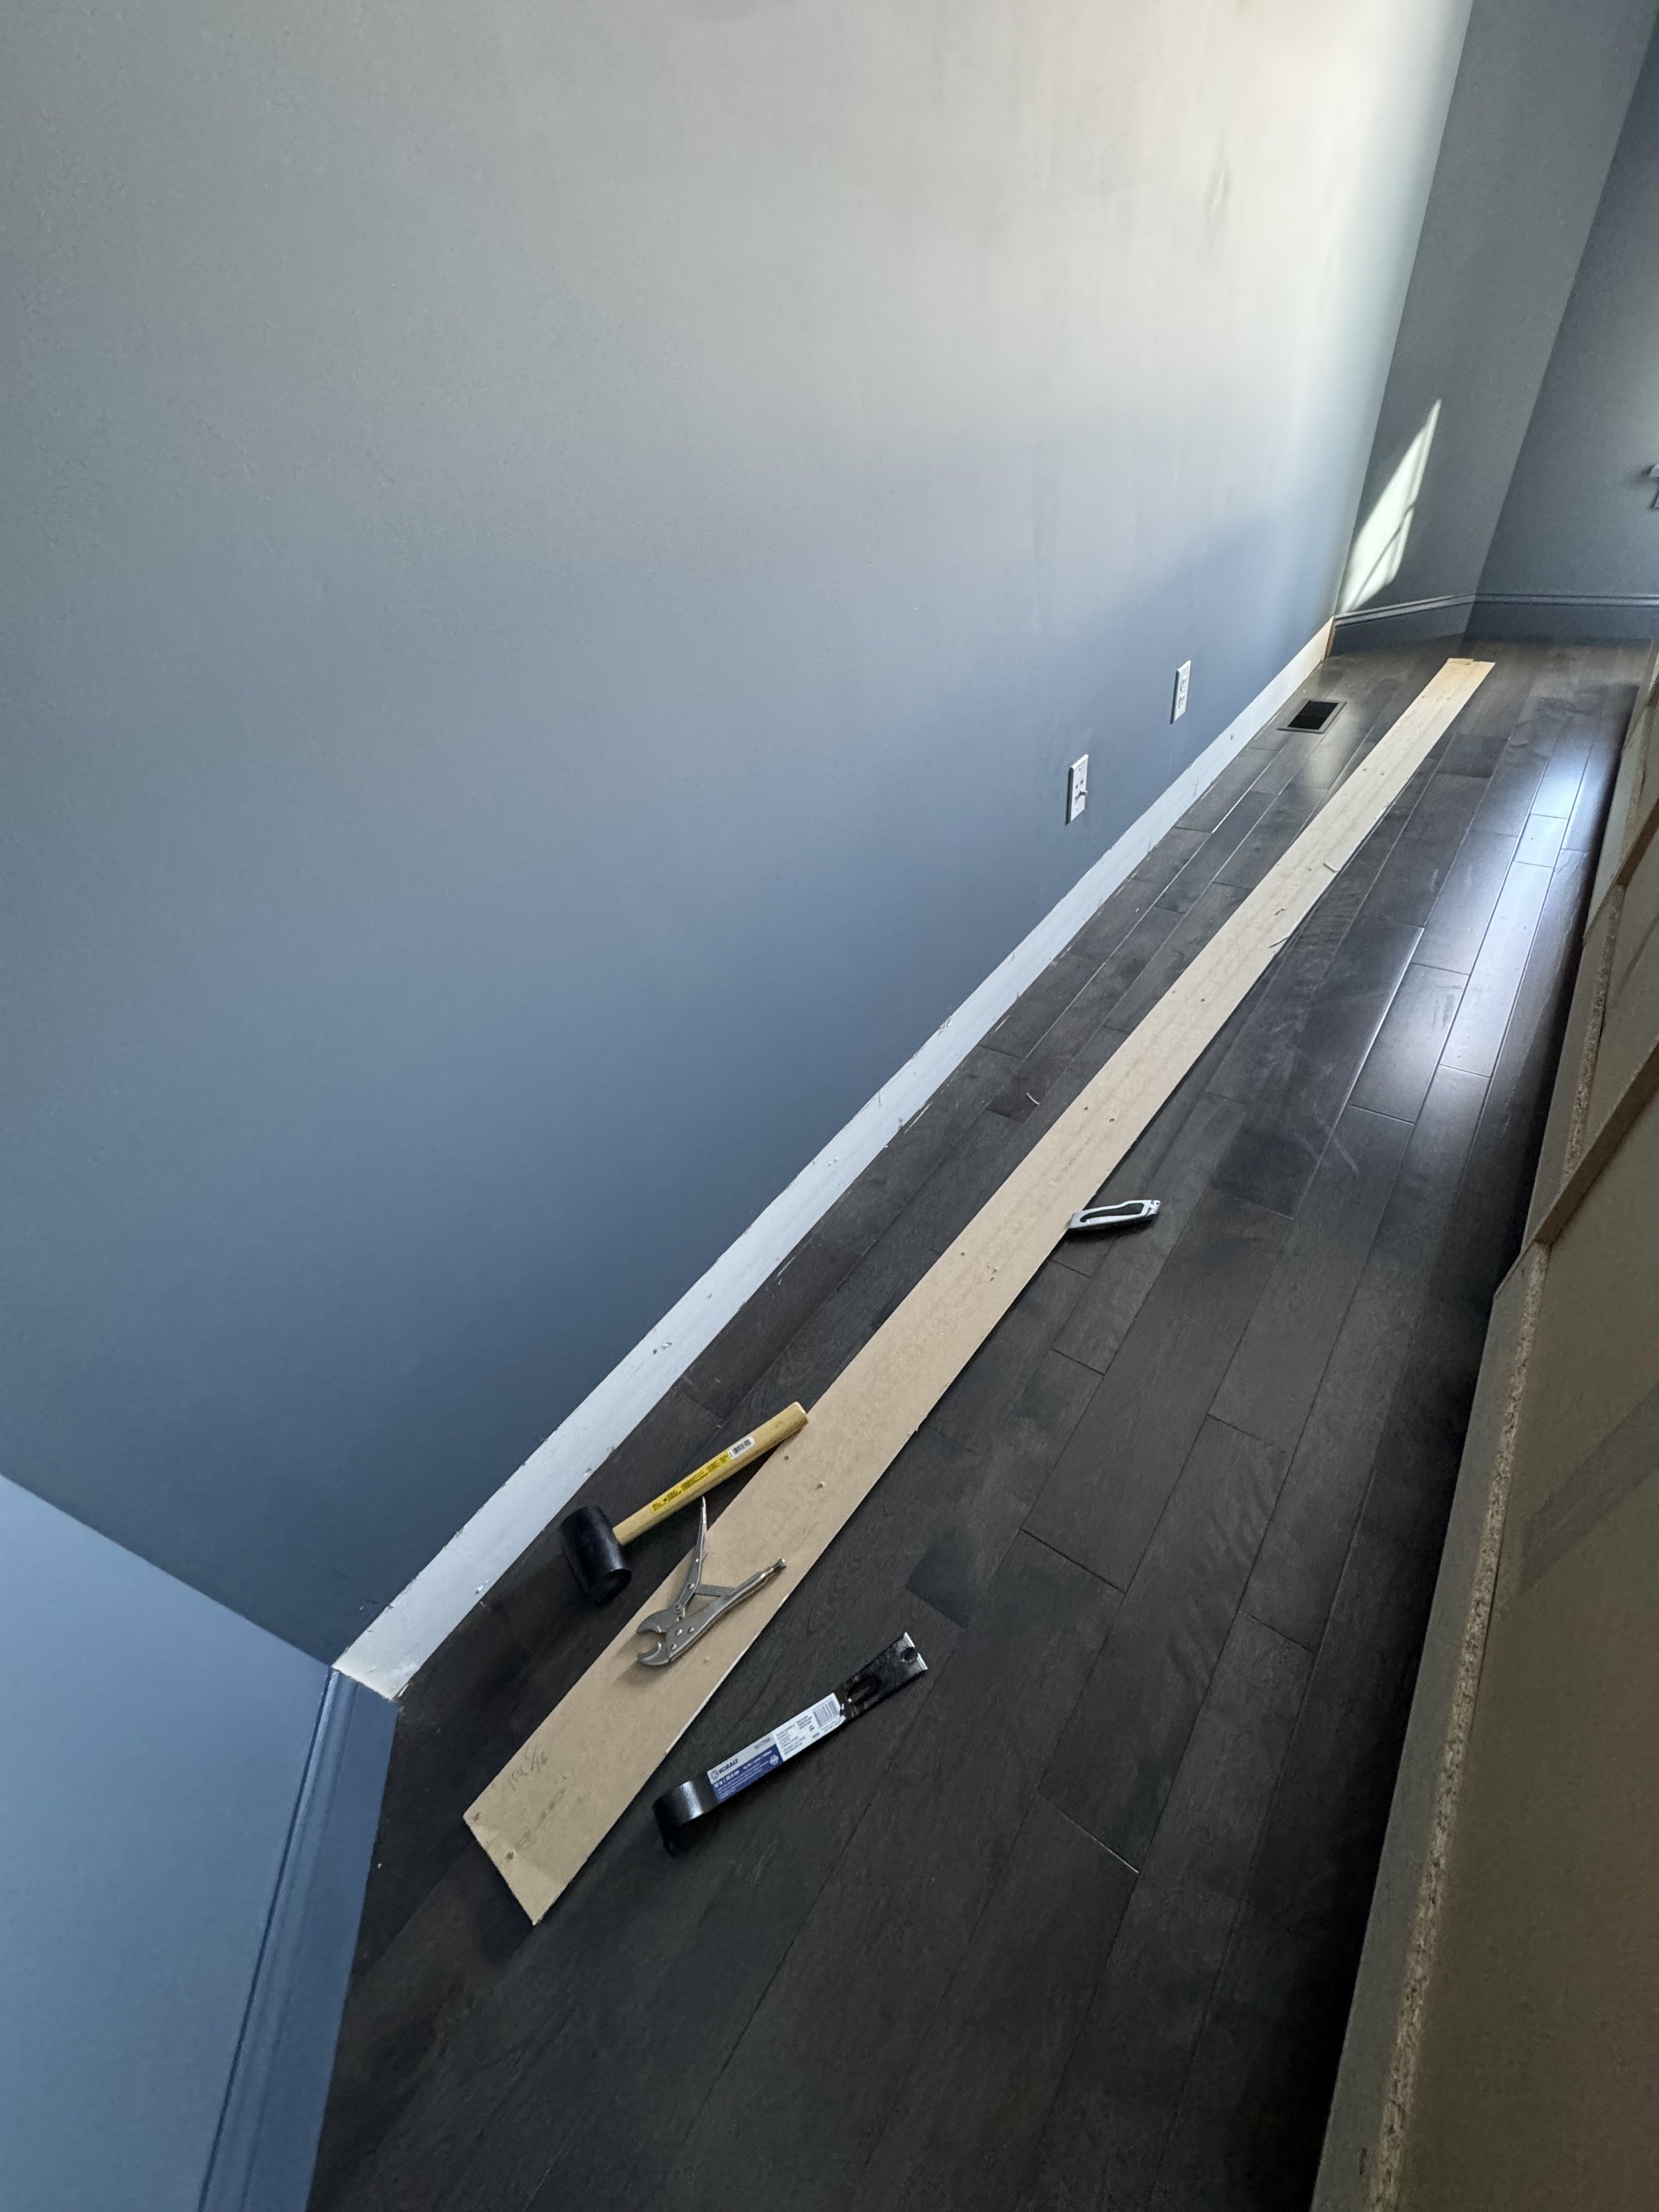
Since the cabinets will cover the only register in the room, I installed this air vent extender. This was an easy $20 solution that I have used elsewhere in the house and have liked it.
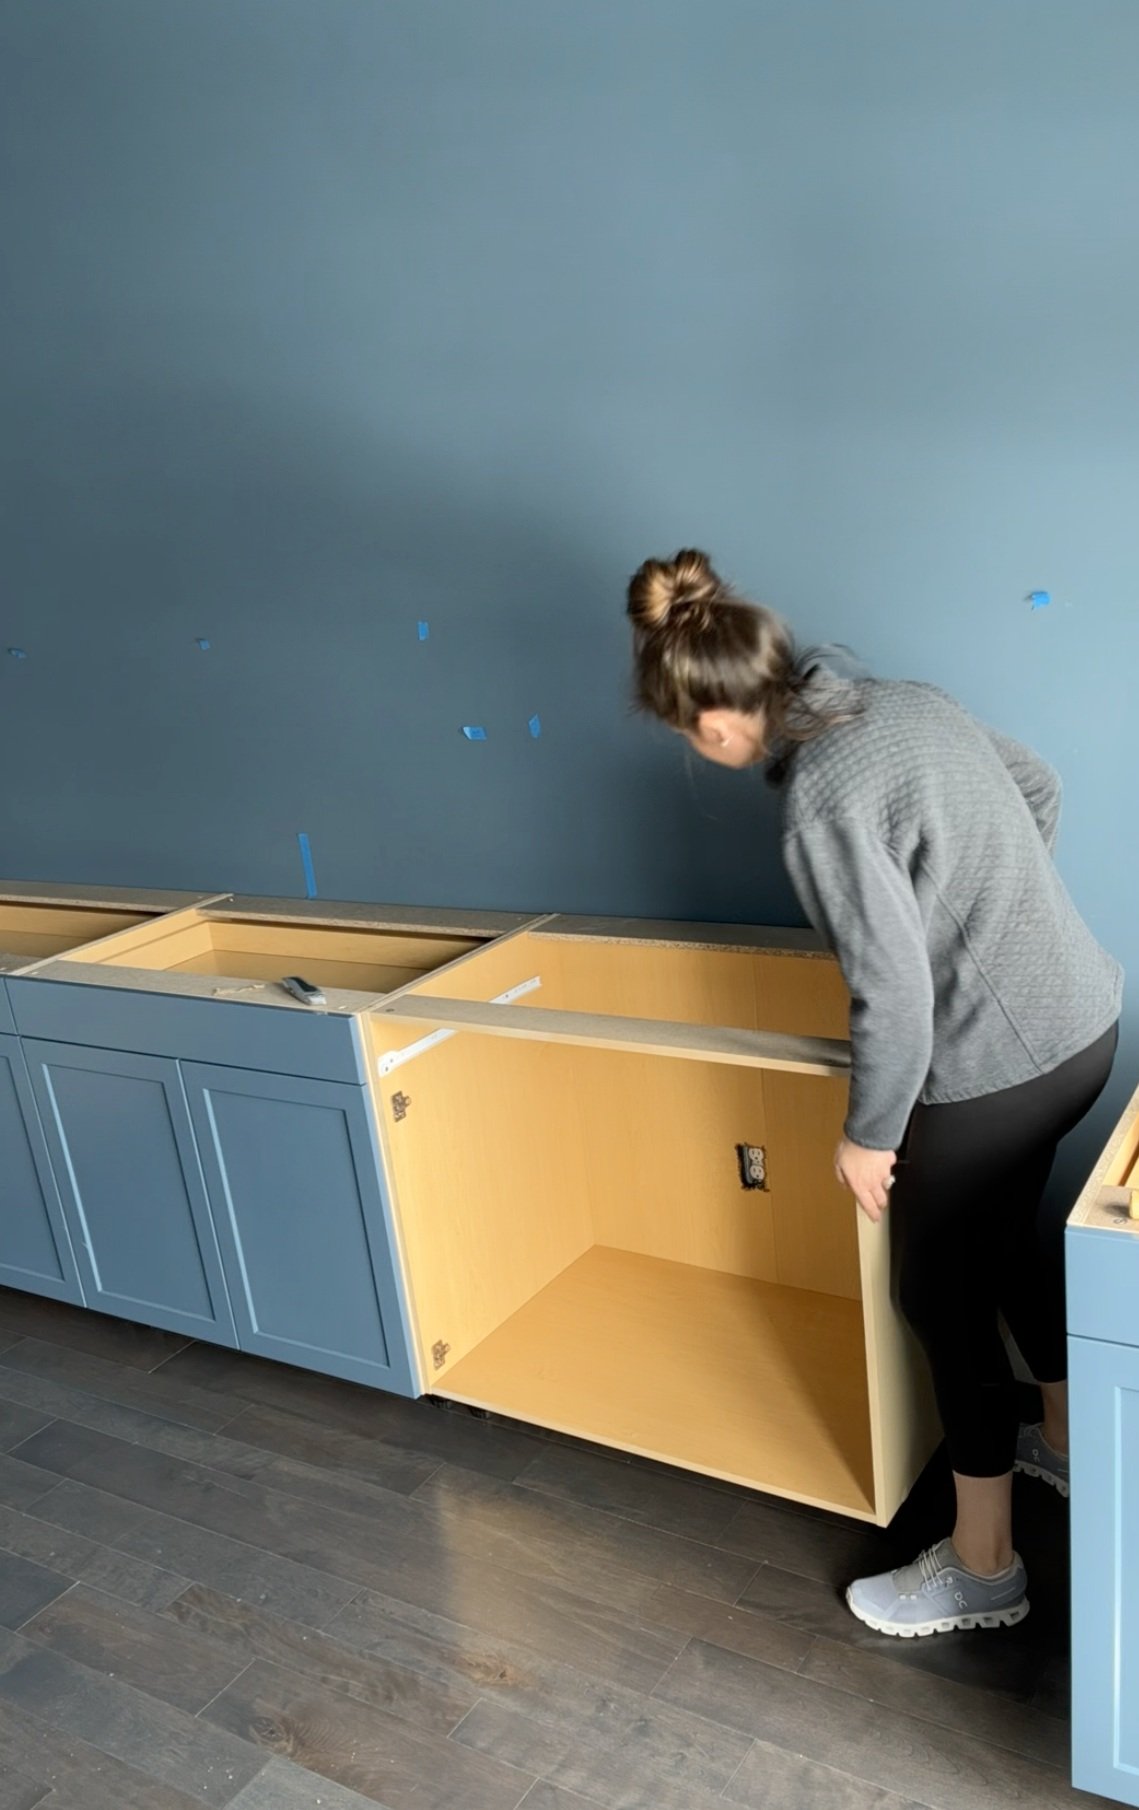
Next up, I measured to find the exact center of the wall and began lining up the middle cabinets on either side.
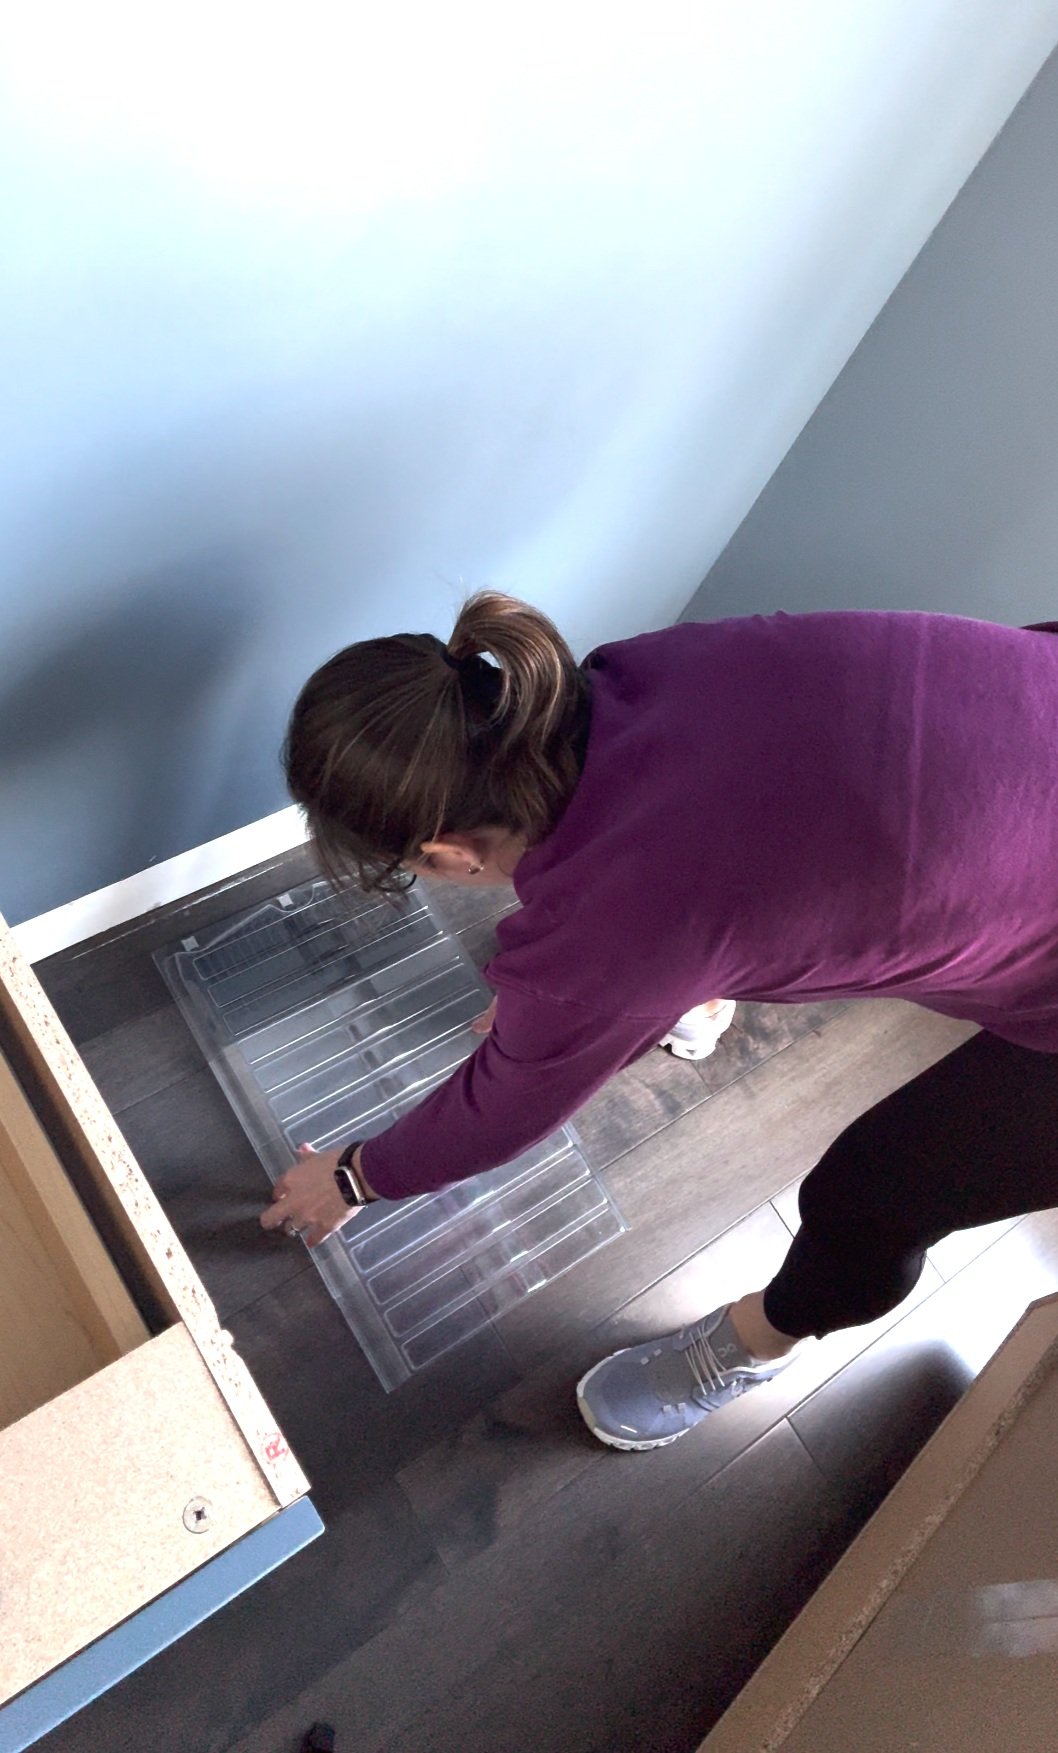
Each middle cabinet has an outlet behind it that I'd still like to access. So, I cut a small hole in the back of each cabinet, and installed outlet extenders.
After finding the studs, I started with the inside two cabinets. I screwed each cabinet to the wall, checking for levelness as I went with these screws. This was where I appreciated the adjustable feet on these cabinets; a quick twist made them nice and level!

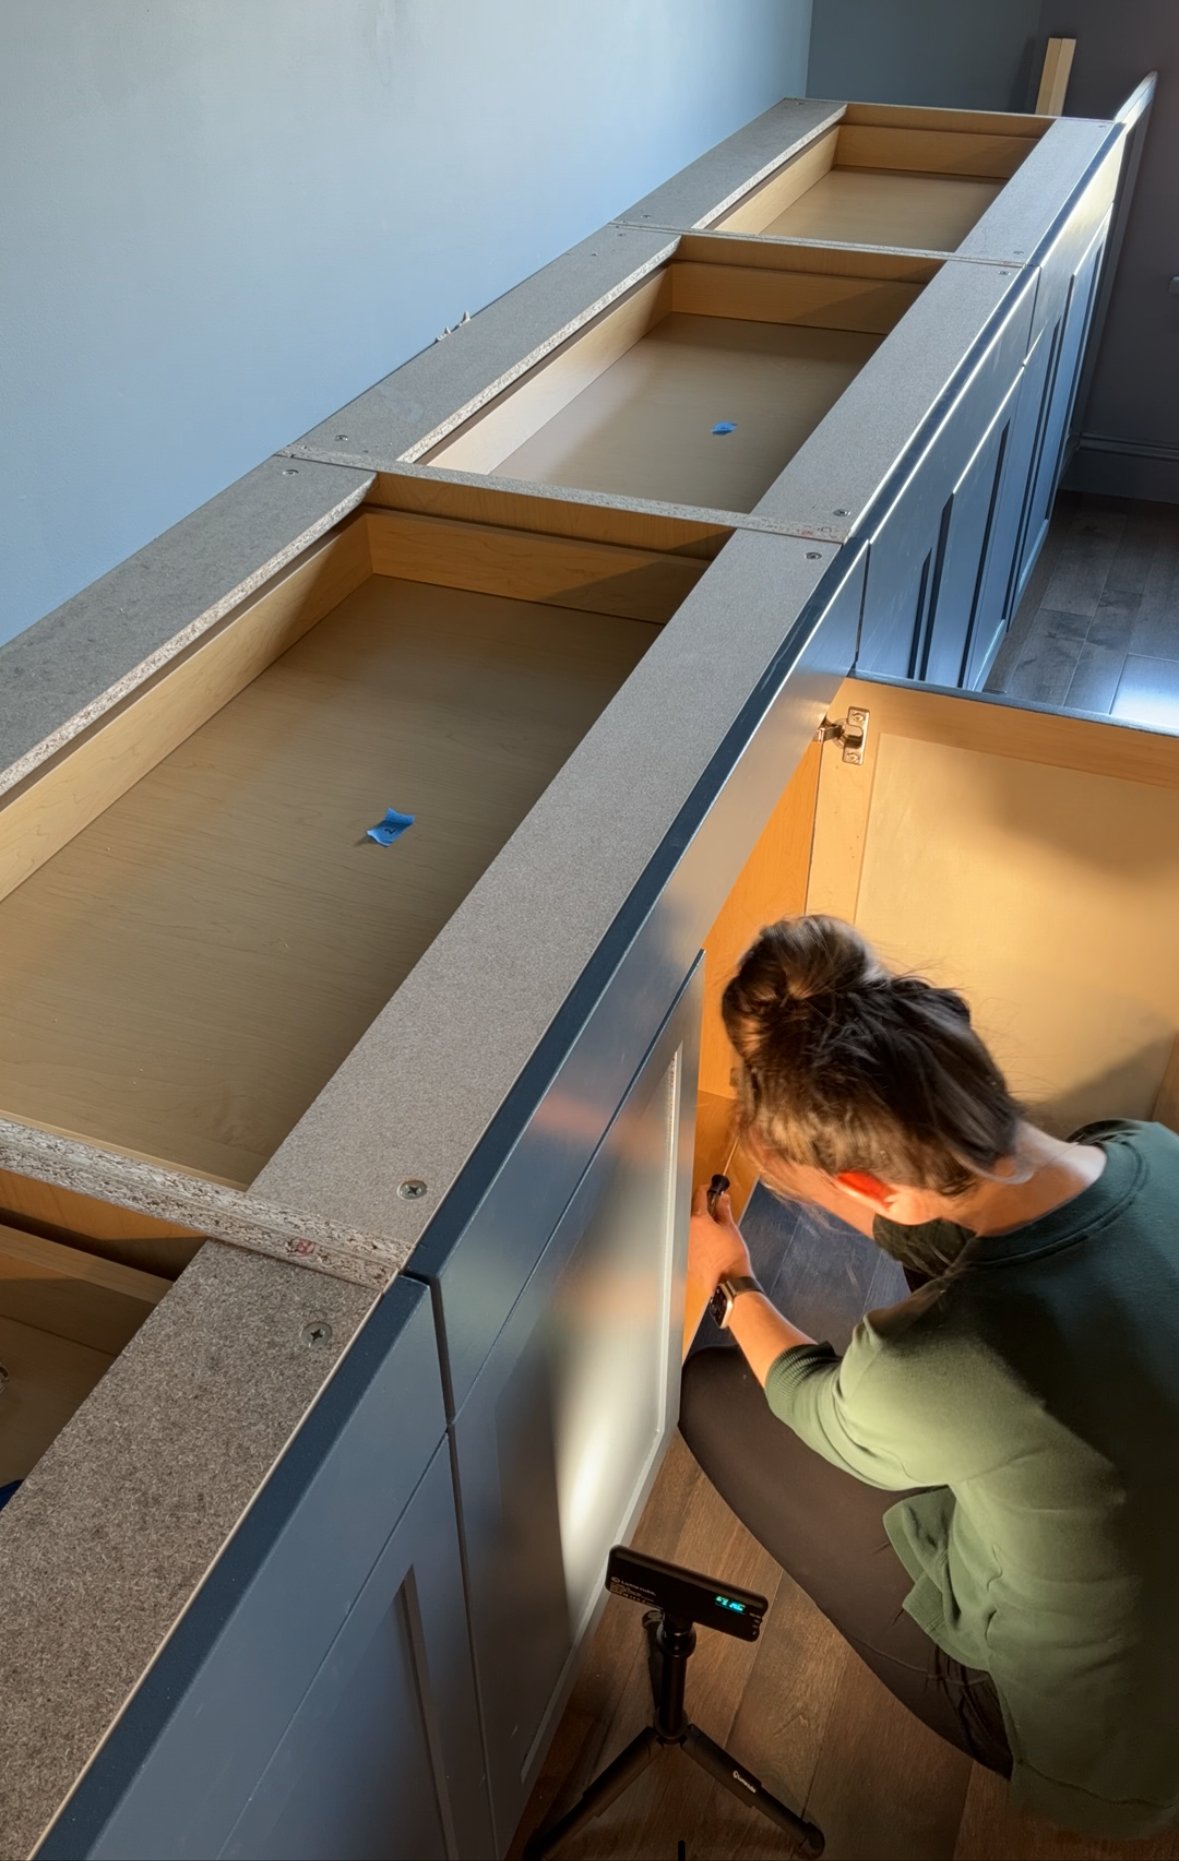
Then I screwed each cabinet to its neighbor using a face clamp and 1.5” screws. This step helped to make these cabinets feel super sturdy.

I took the time to make all the doors and drawers as level as I could using the adjustable hinges. I also added soft close dampers to each door, which was easy, cheap, and made a huge difference.
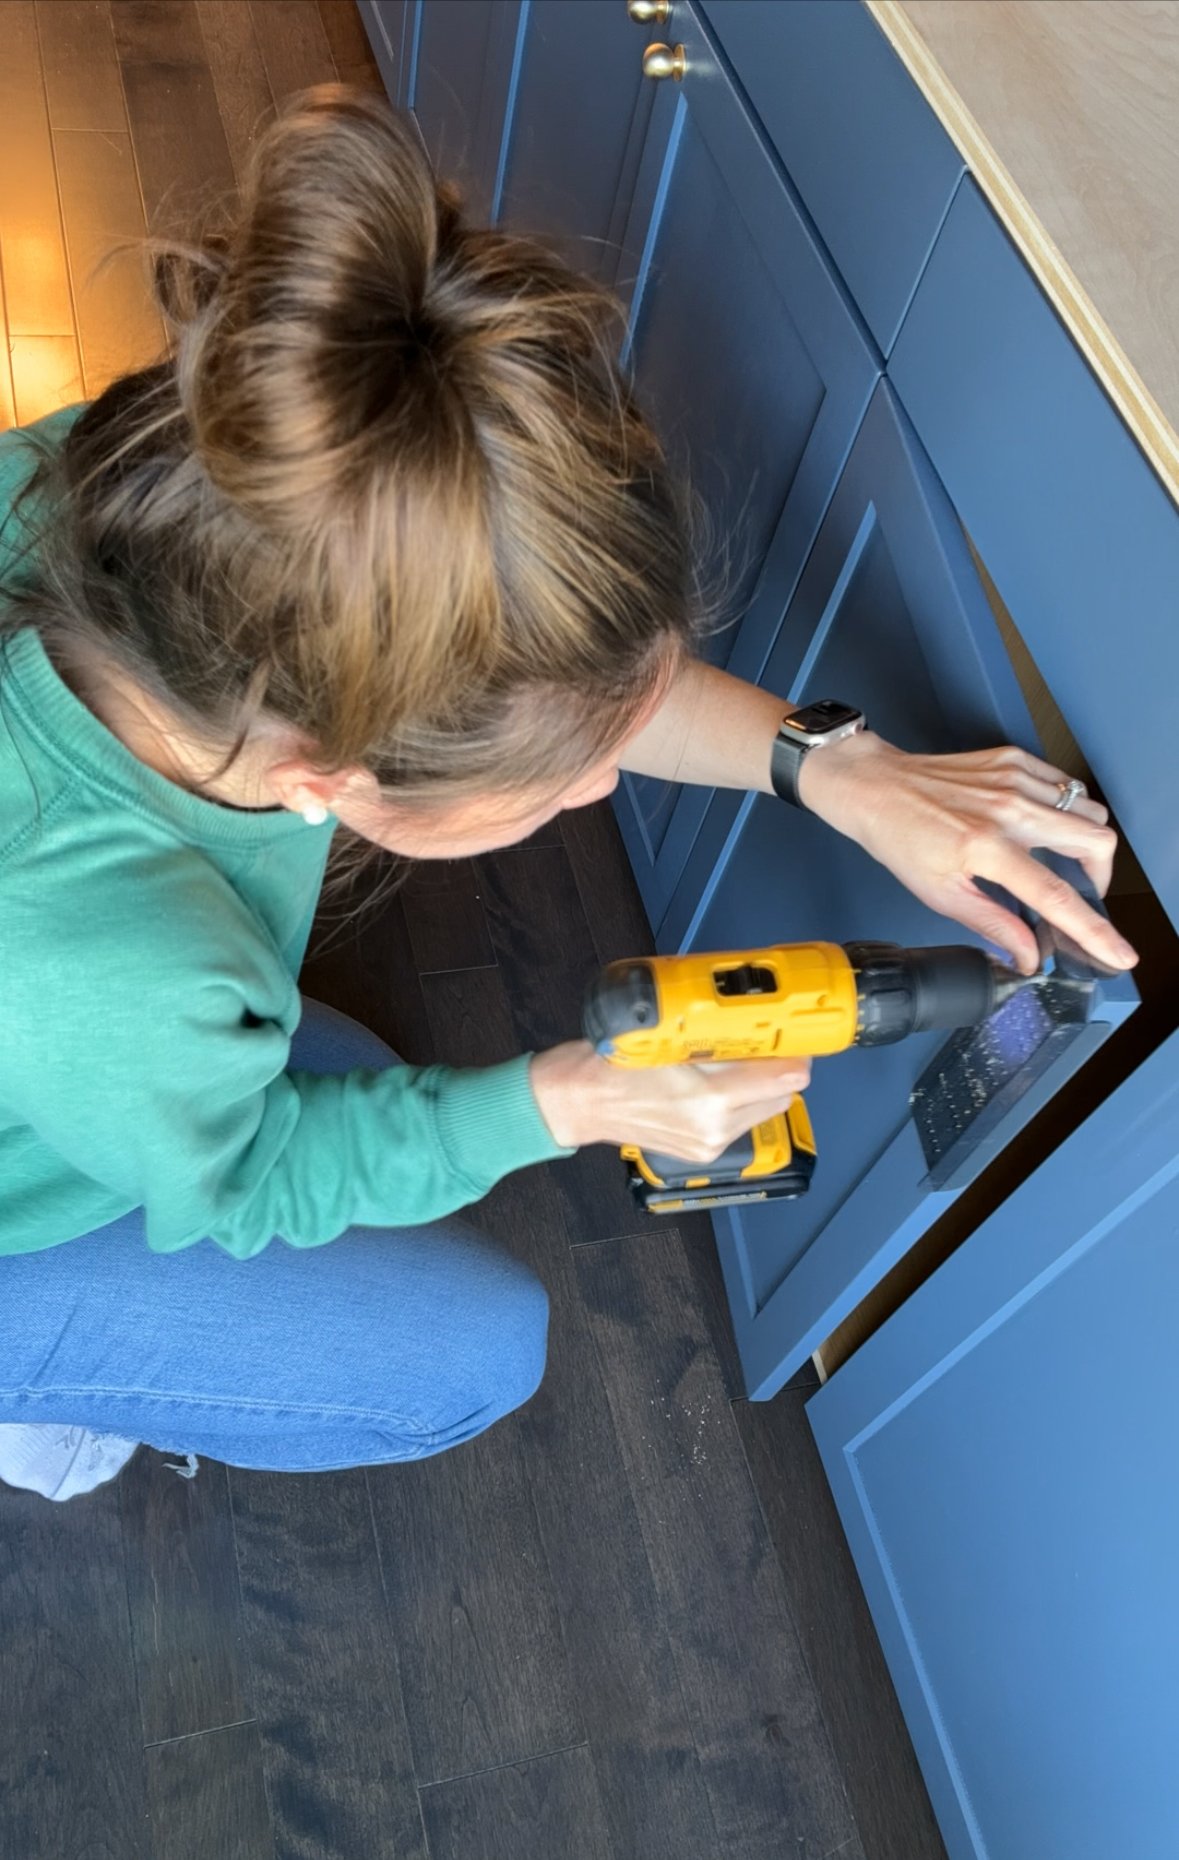
Next came the pretty knobs and pulls, using this cabinet hardware installation template which REALLY made this week's progress feel good!
Mid-way through the Spring 2024 One Room Challenge and things are looking good so far. Next week we tackle the side shelves!