Library transformation: custom side shelves

Week 5 of the One Room Challenge was devoted to the custom side shelves in our Moody Blue Library. These are meant to bring the base cabinets to the end of each wall for a truly built-in look. Plus, they will provide easy-to-access extra storage for my toddler and all her toys.
There maaaaaay have been moments this week when I wondered if these side shelves were even worth it. But they are done, and I am happy with how they turned out.
The biggest hurdle with these side shelves was the angled corner on each side. Not having a 90-degree angle put me to the test!
Here are the steps I took to create these side shelves:
The frames
I cut these boards to size and then used pocket holes to make the frame.
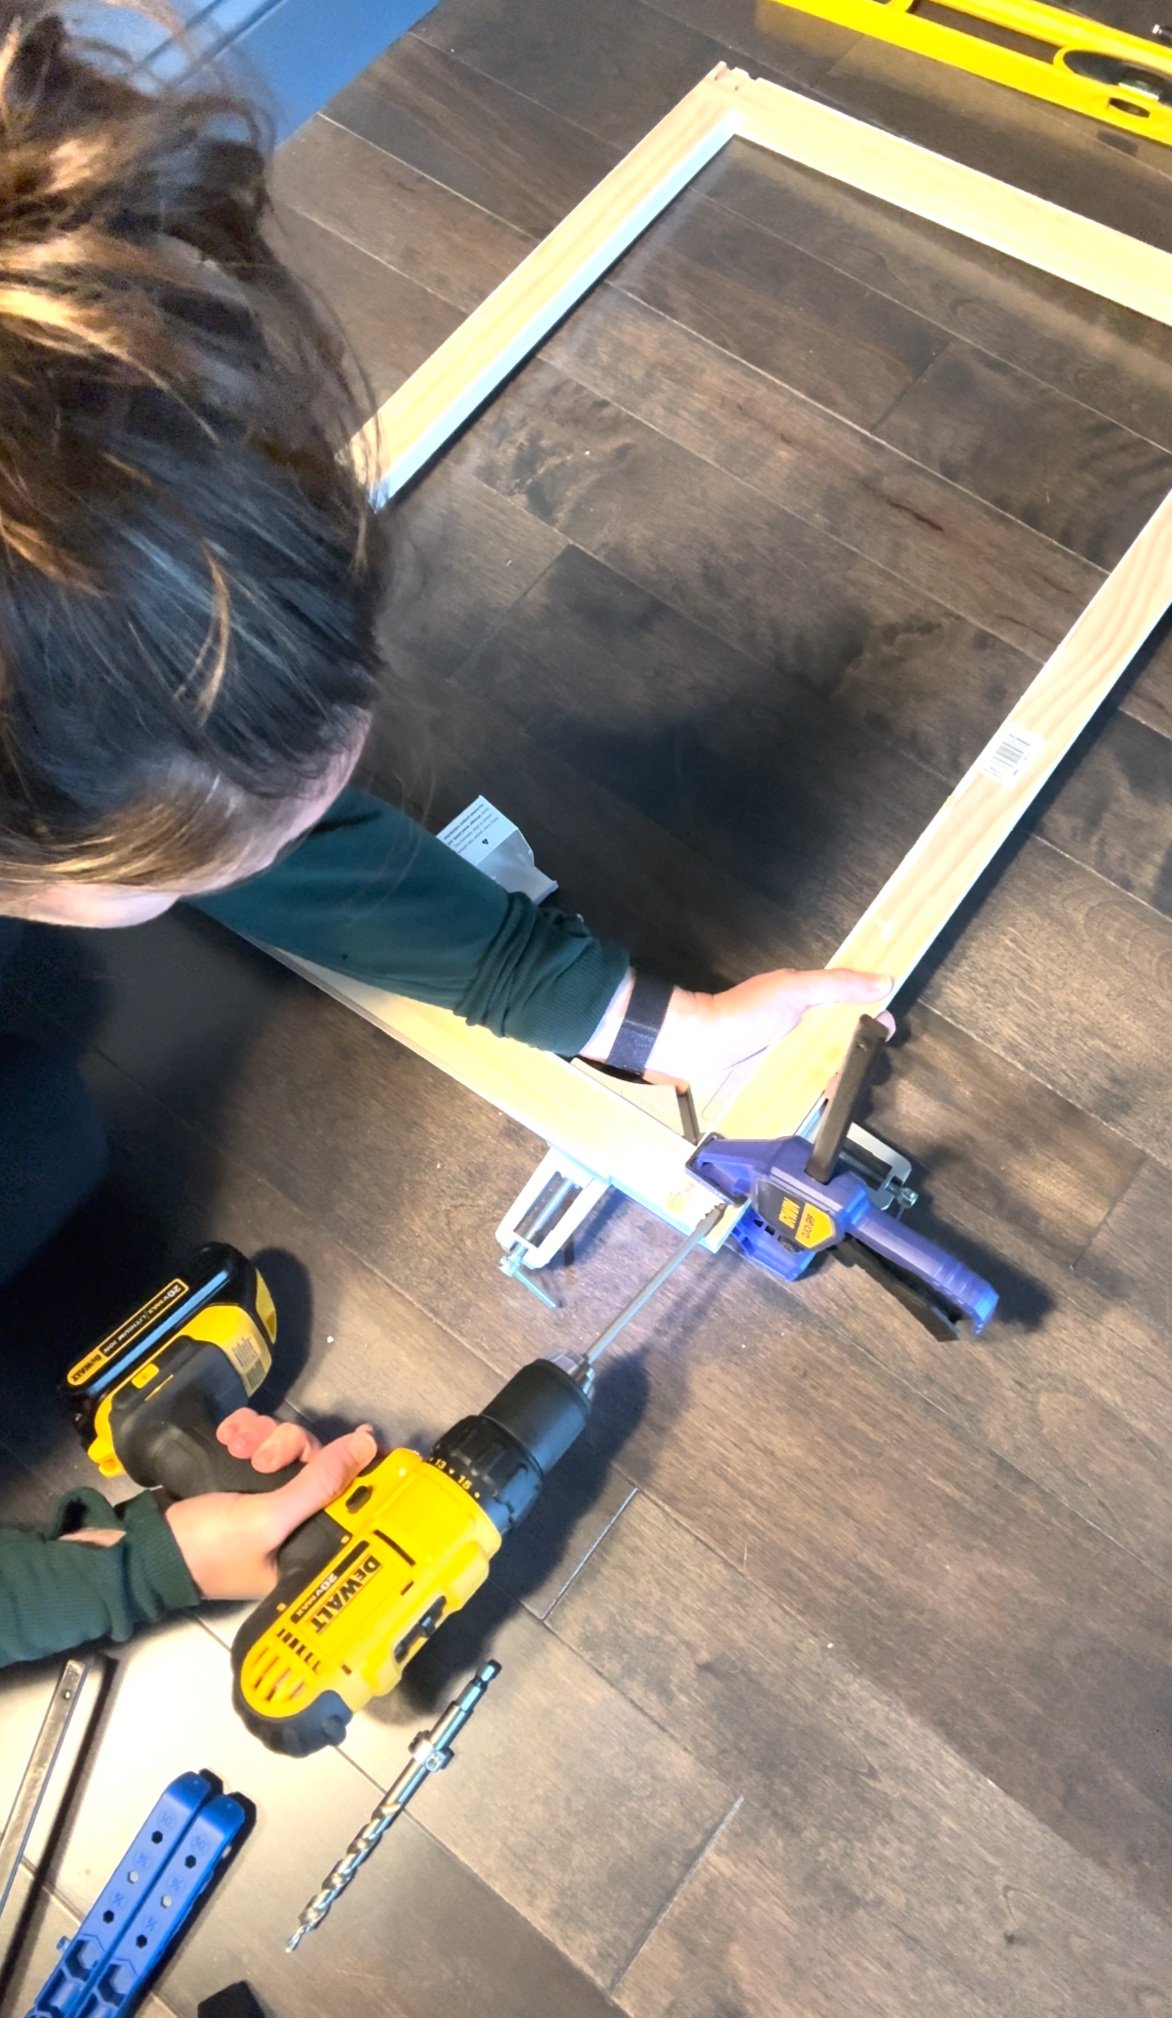
I then woodfilled, primed, and painted and these frames were ready to go!

The base shelves
I started by making a template and measured a million times – I used this contour gauge to find the angle, which worked well.

I then cut the base shelves. I used two boards that were scraps from the countertop, as I found it easier to cut this way. I joined them together with pocket holes. They were sanded, primed, and painted the same color and sheen as the base cabinets.
I installed 1” square dowels as brackets to hold the shelf with my brad nailer and screws. I wanted the shelf to be exactly level with the face frame, so I measured carefully around the whole space to install level brackets.

And finally, I placed the shelf upon the brackets, and attached the frame — all while swearing to myself that I would never install a custom side shelf again 😆 (Don’t worry, I’ll take care of all the finish work like caulking and touch-up painting at the end!)
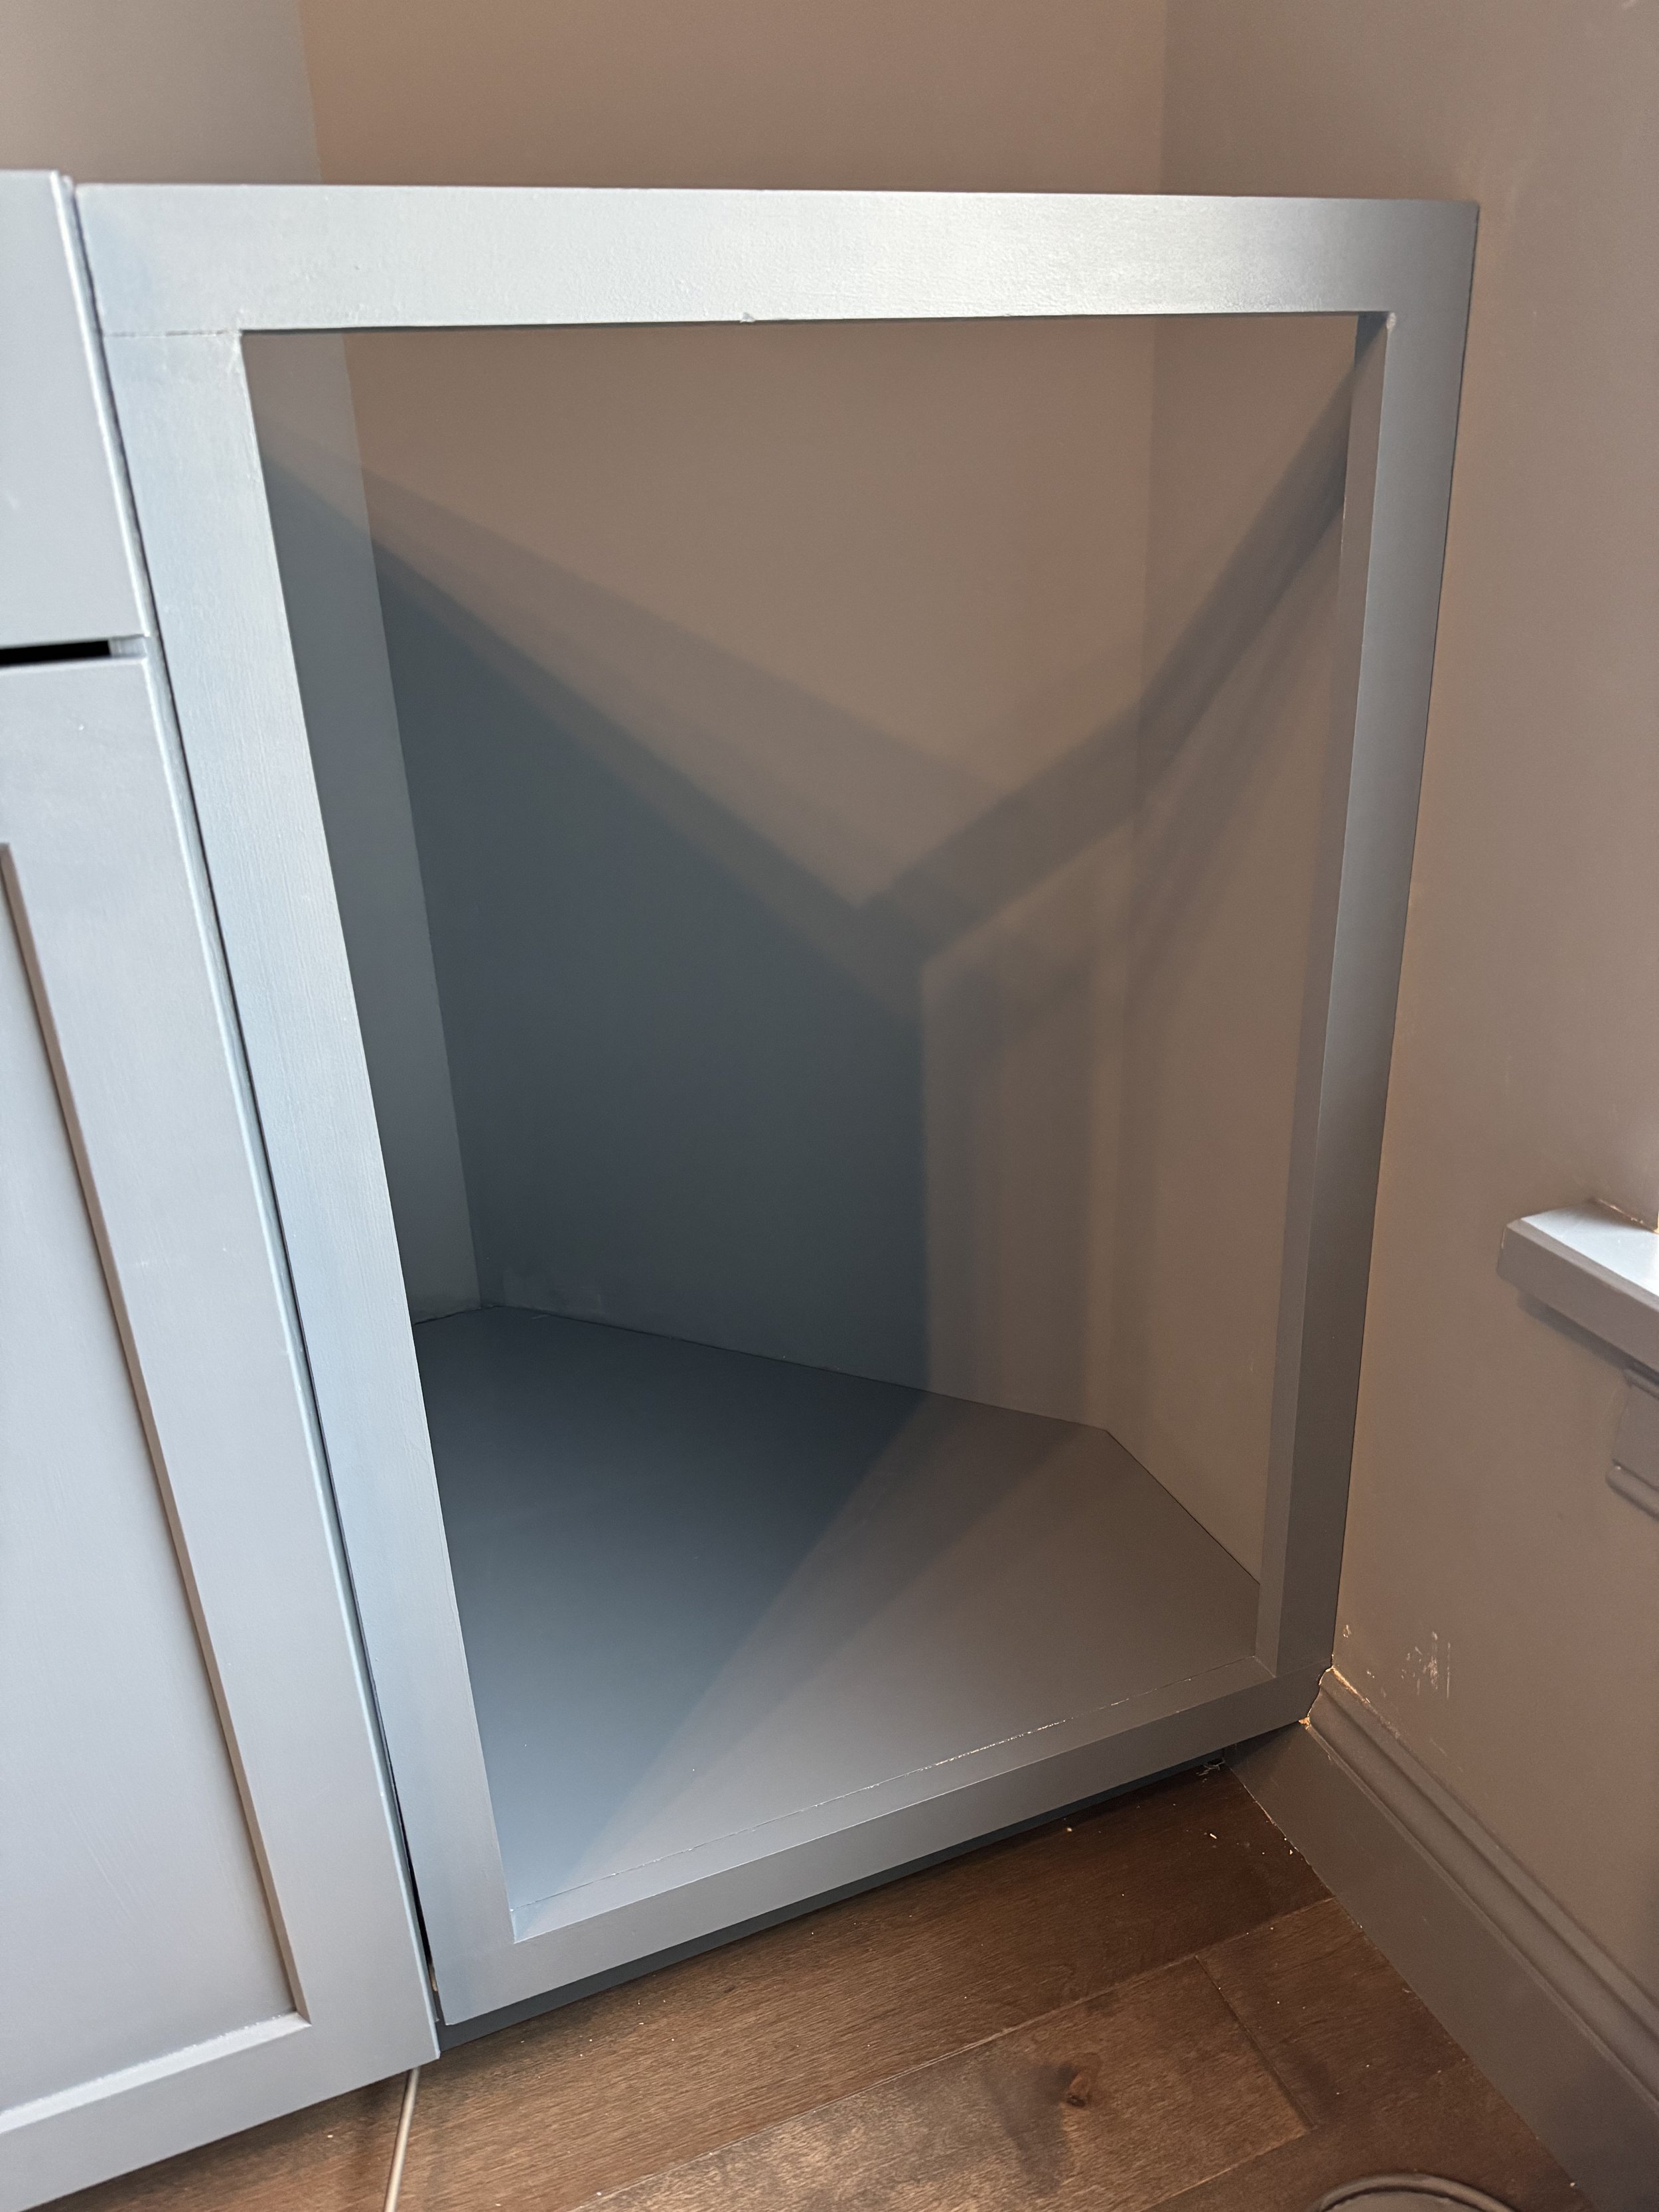
The toekick
As the final step of finishing the base, I used two 1x4s as the toekick. I primed and painted them the same color and sheen as the cabinets.
I cut out a hole with my jig saw for the register redirect that was installed last week and then set the toekick in place, with a mitered cut joining the two pieces for an invisible seam.

Things are really starting to take shape around here. Up next: countertops!