Library transformation: countertops, shelves, and final details

Phew, this summer has been one for the books! Lots of time making memories has meant the library has taken a bit of a backseat. But today I’m calling the Moody Blue Library done! (For now…there is always more I could do!)
Let’s break down the final steps of this library: countertops, shelves, and the final details!
Countertops
Here’s what I did (and/or would have done if I did it again!)
I ordered 4 sheets of this 3/4” plywood (next time, I wouldn’t necessarily get birch as I ended up not staining it as originally planned, but it still worked well). It can be custom cut by the company, which was a huge plus for me. I used scrap wood to make a template for the wonky corner angles, and then cut the end pieces to fit exactly.

I added thin strips of 1/4” underlayment under the countertop to give the drawers clearance to open.
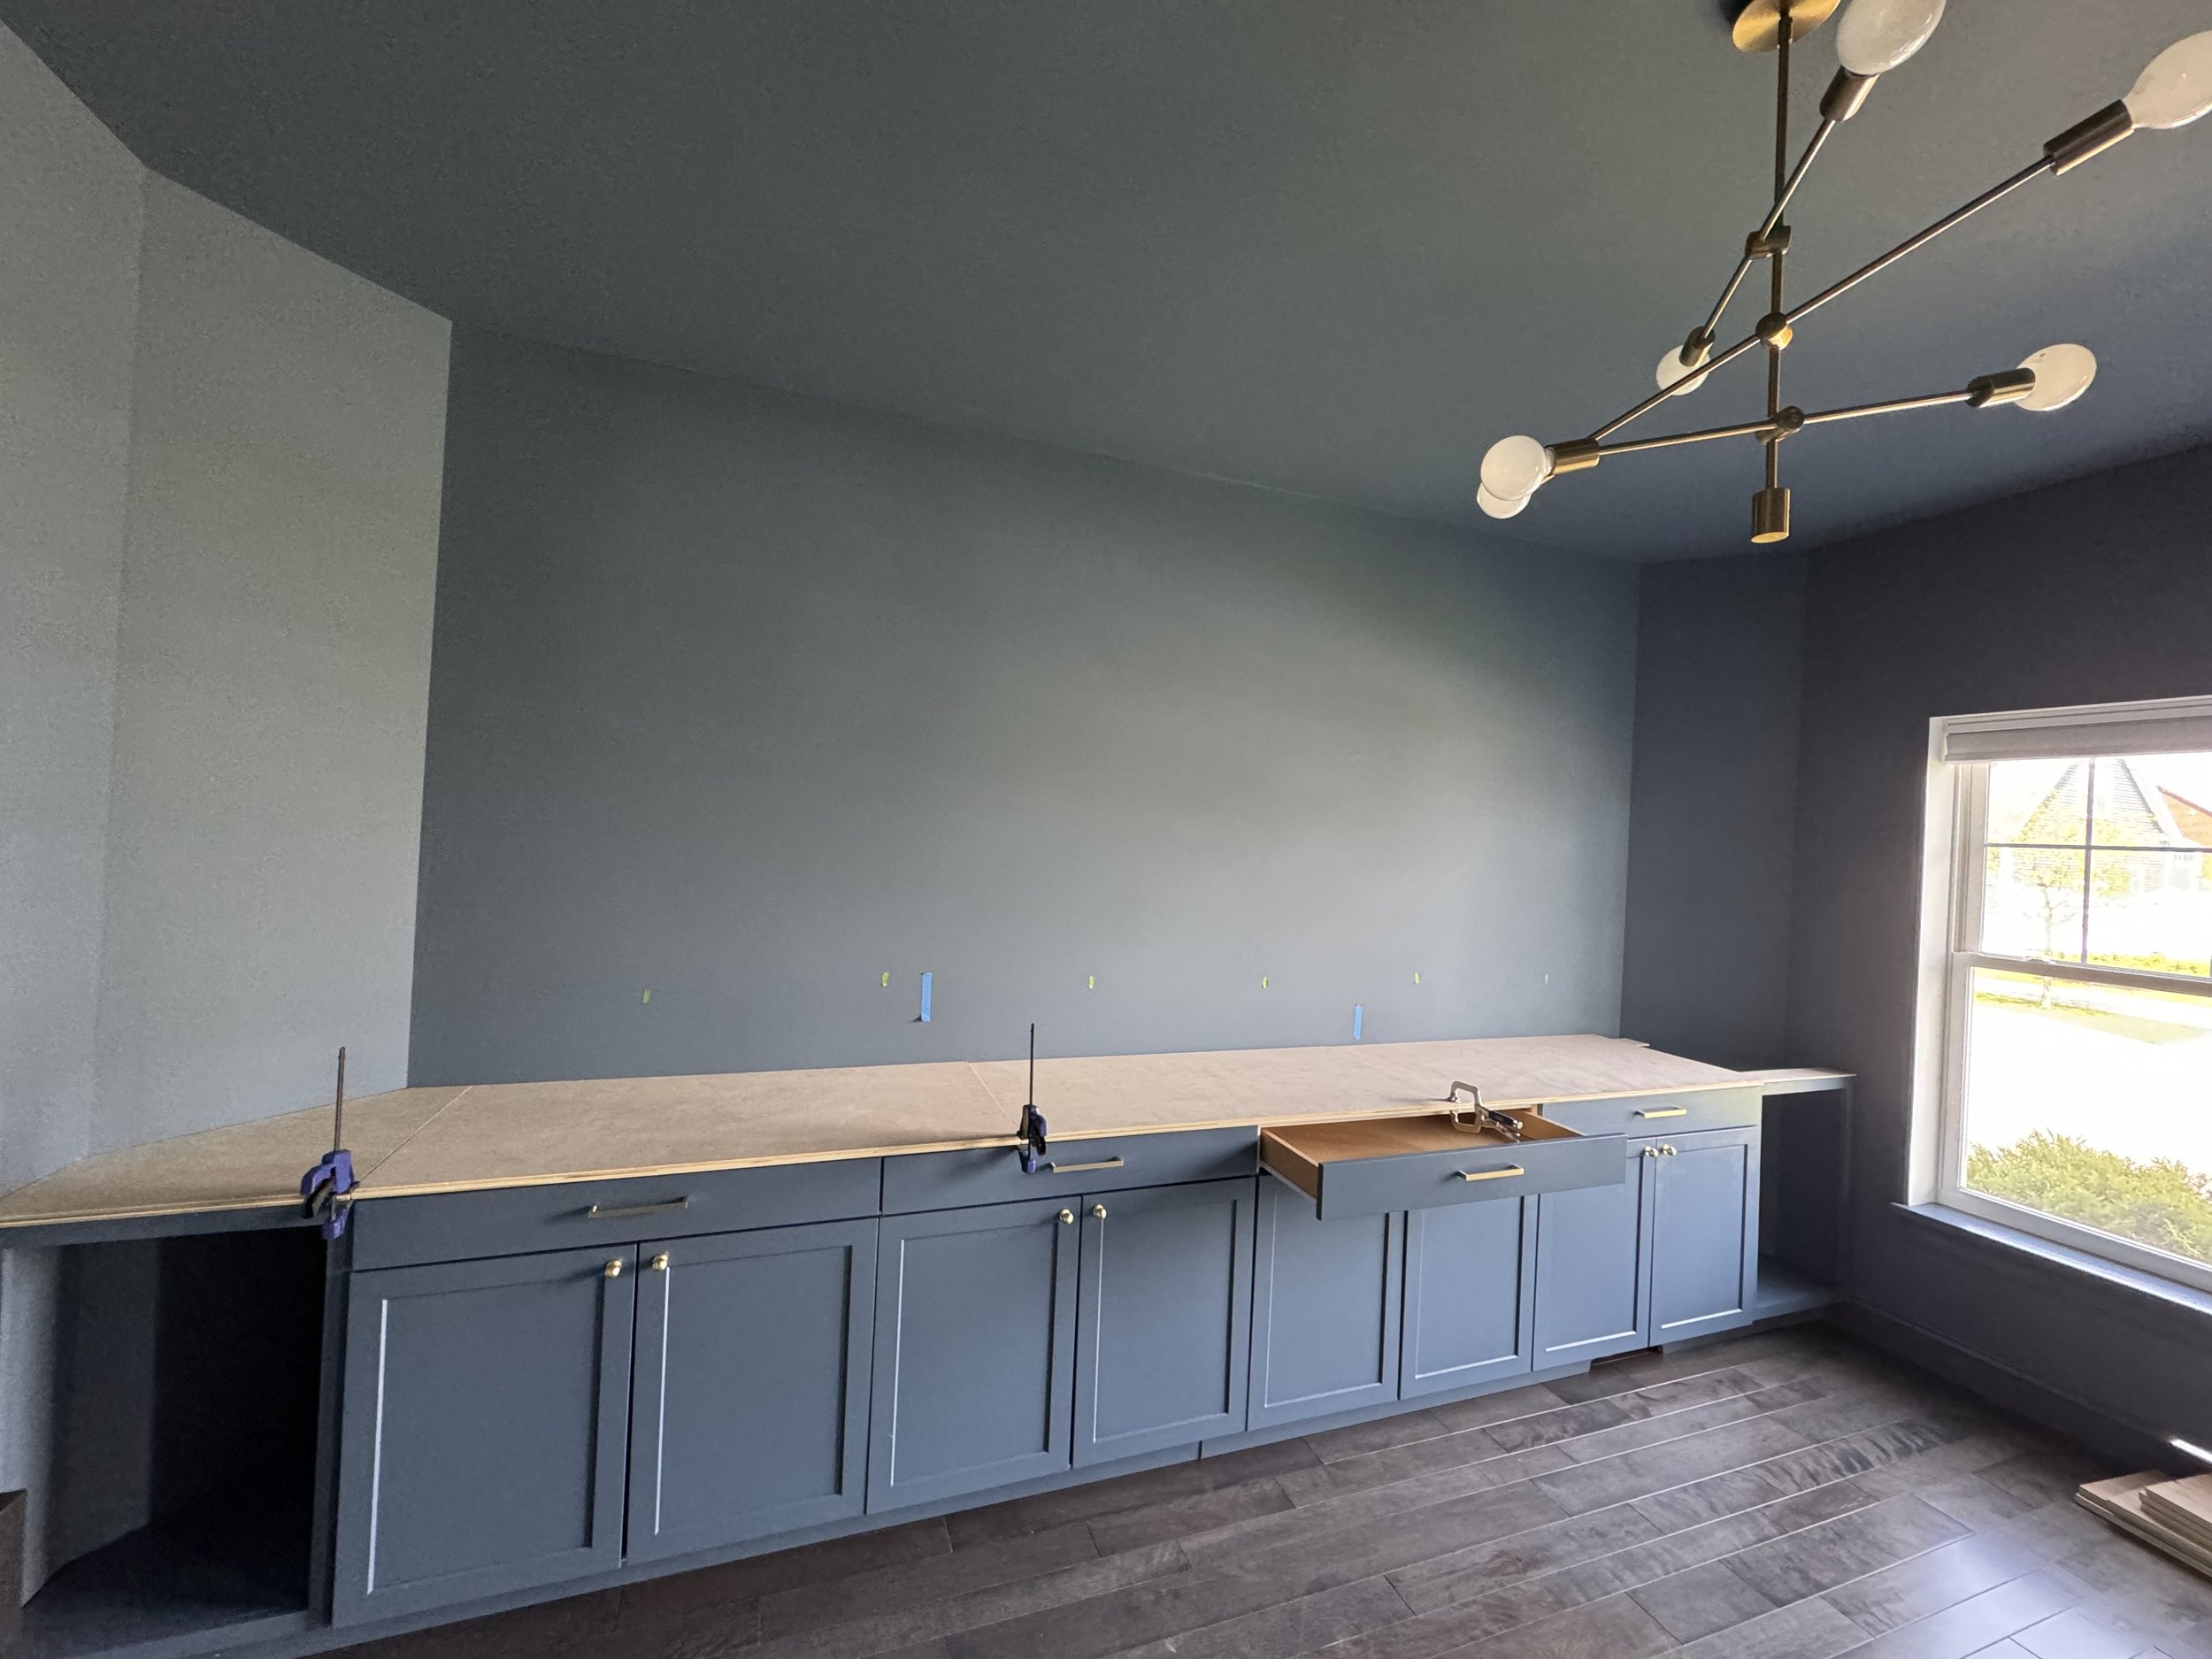
I added edge banding for a finished look.
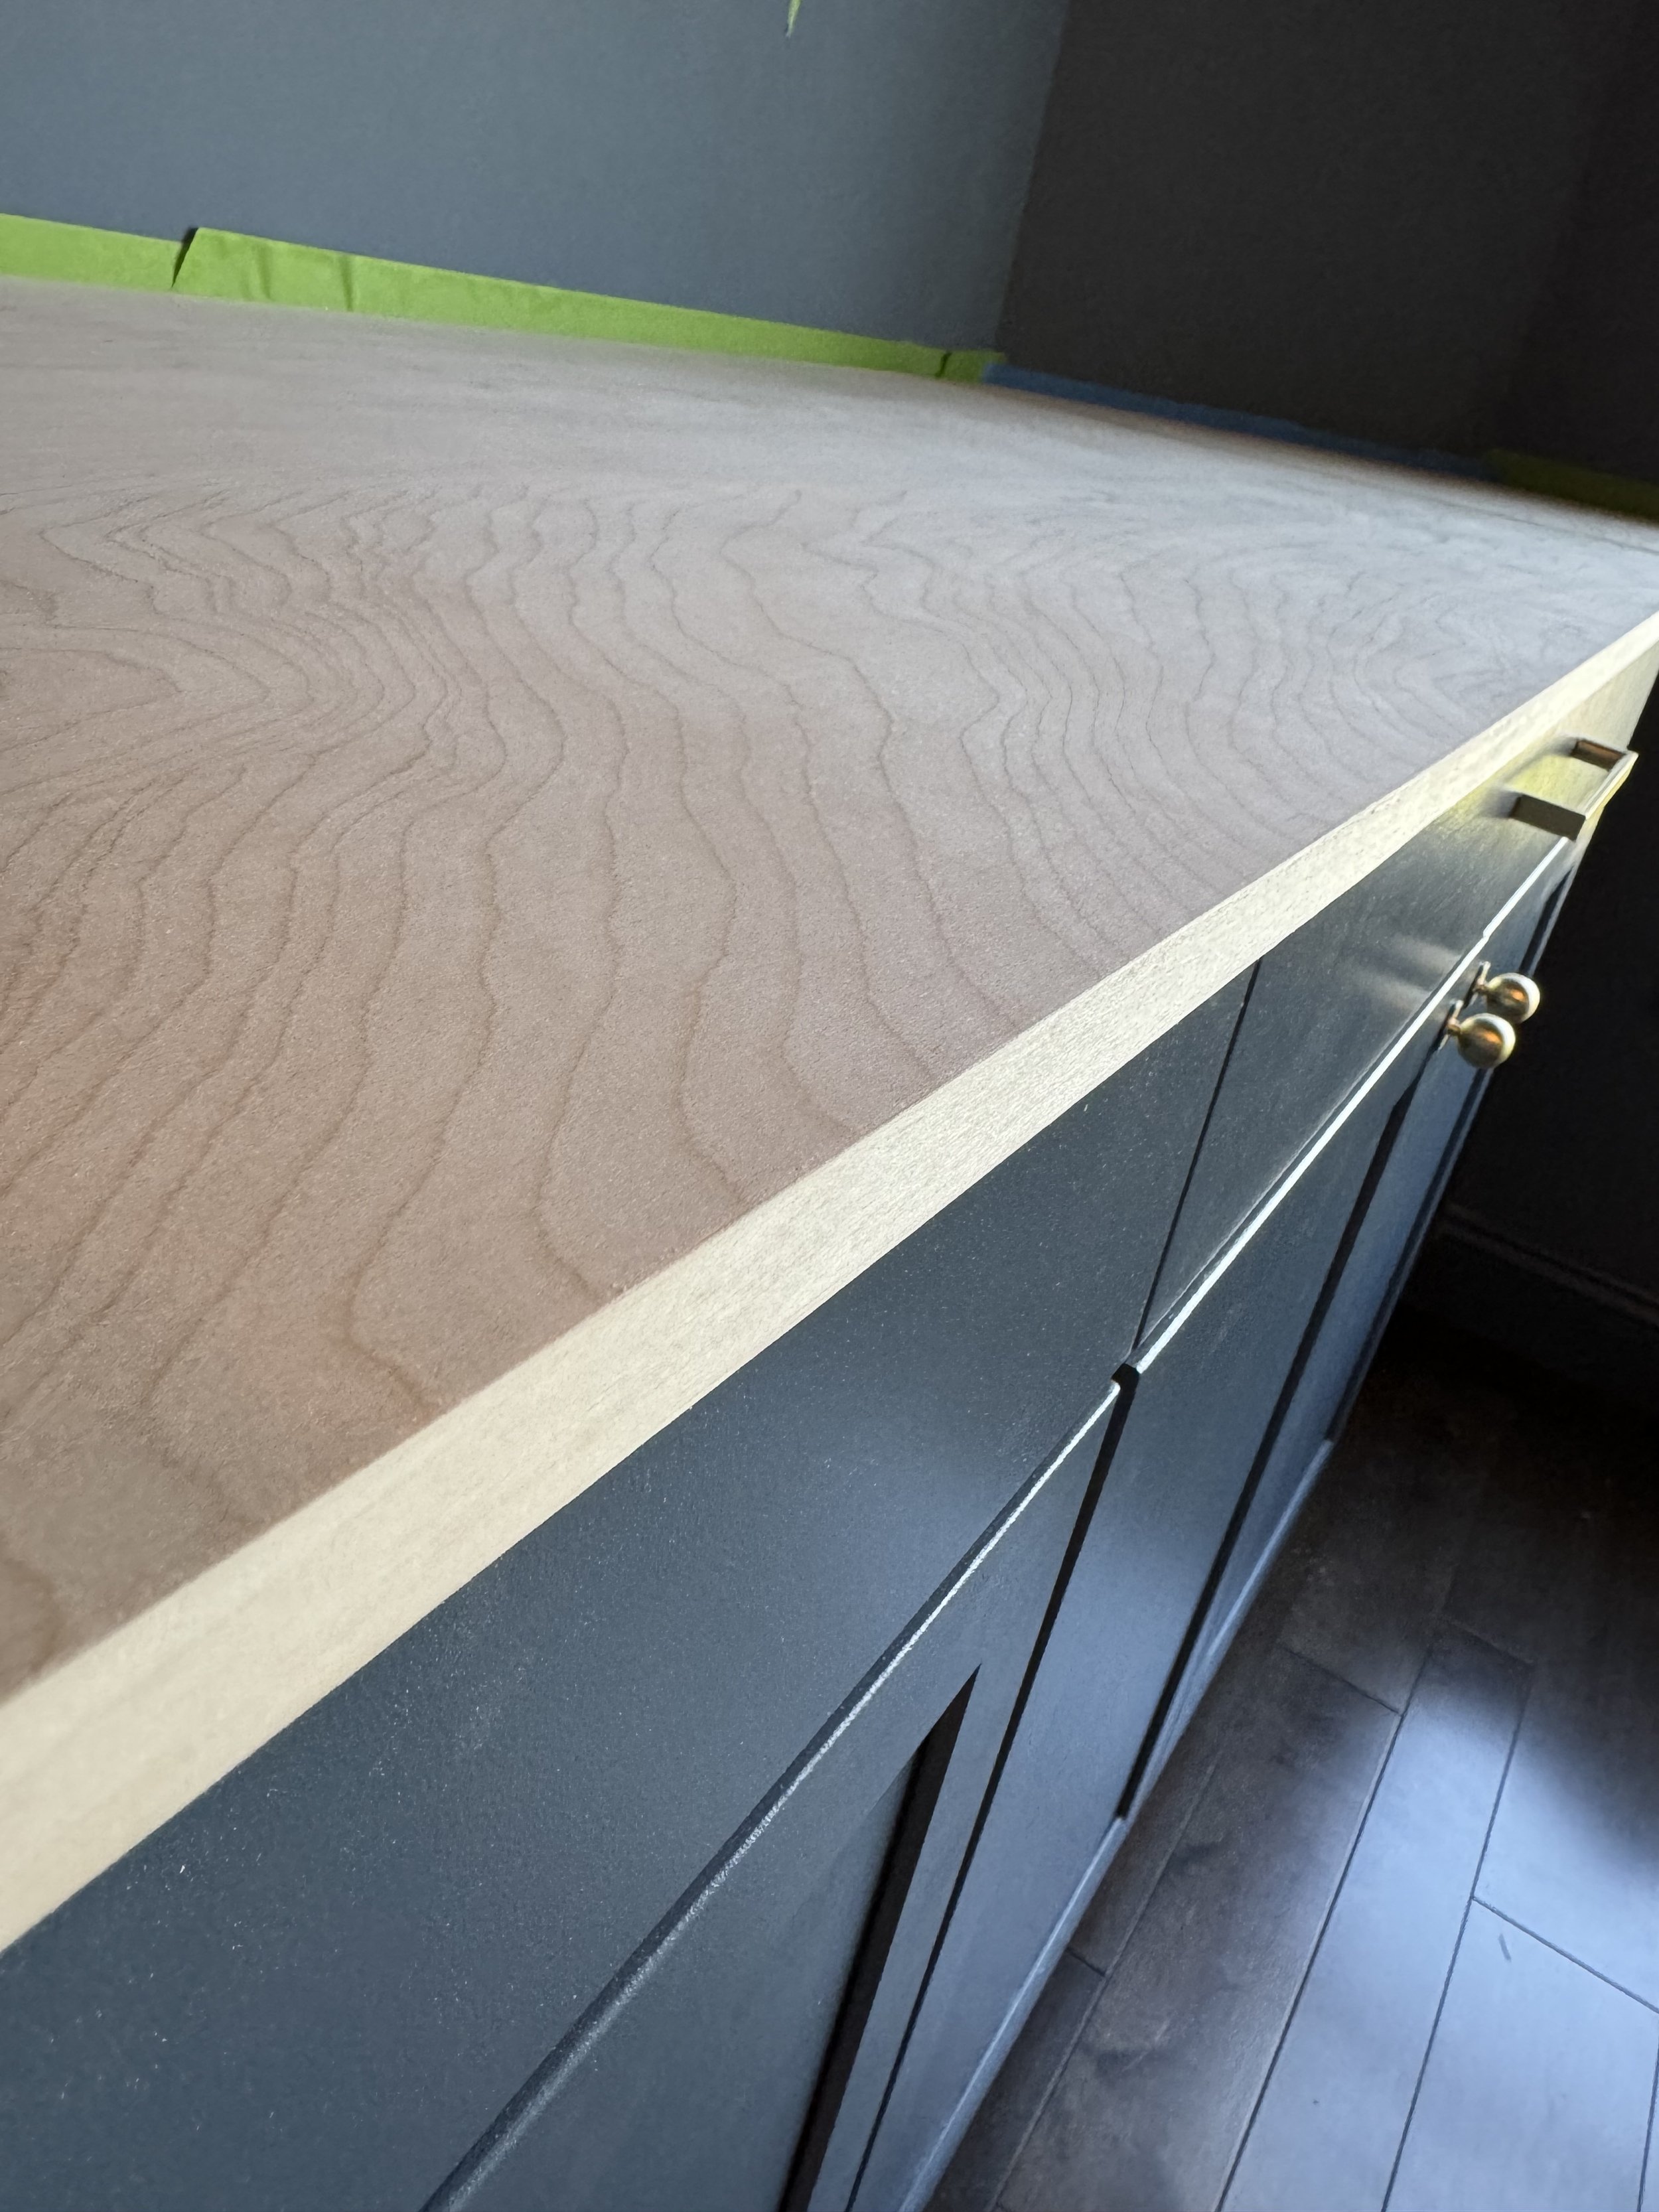
I applied wood filler to make the seams as smooth as possible, then sanded and primed. I painted the countertops Sherwin Williams Emerald Urethane Trim Enamel in semi-gloss (color-matched, of course!) which cures well to hold up to daily use.

Shelves
Once the shelves got going, they were pretty straightforward (despite my constant overthinking 🙃).
For the shelves, I used 6’ and 8’ select pine 1x12” boards. I cut, sanded, and primed ahead of time. Once again, I used this Sherwin Williams Emerald Urethane Trim Enamel in semi-gloss on shelf surfaces, which cures well so that books won’t stick. Otherwise, I used the same Sherwin Williams Emerald semi-gloss that I used on the cabinets and trim.
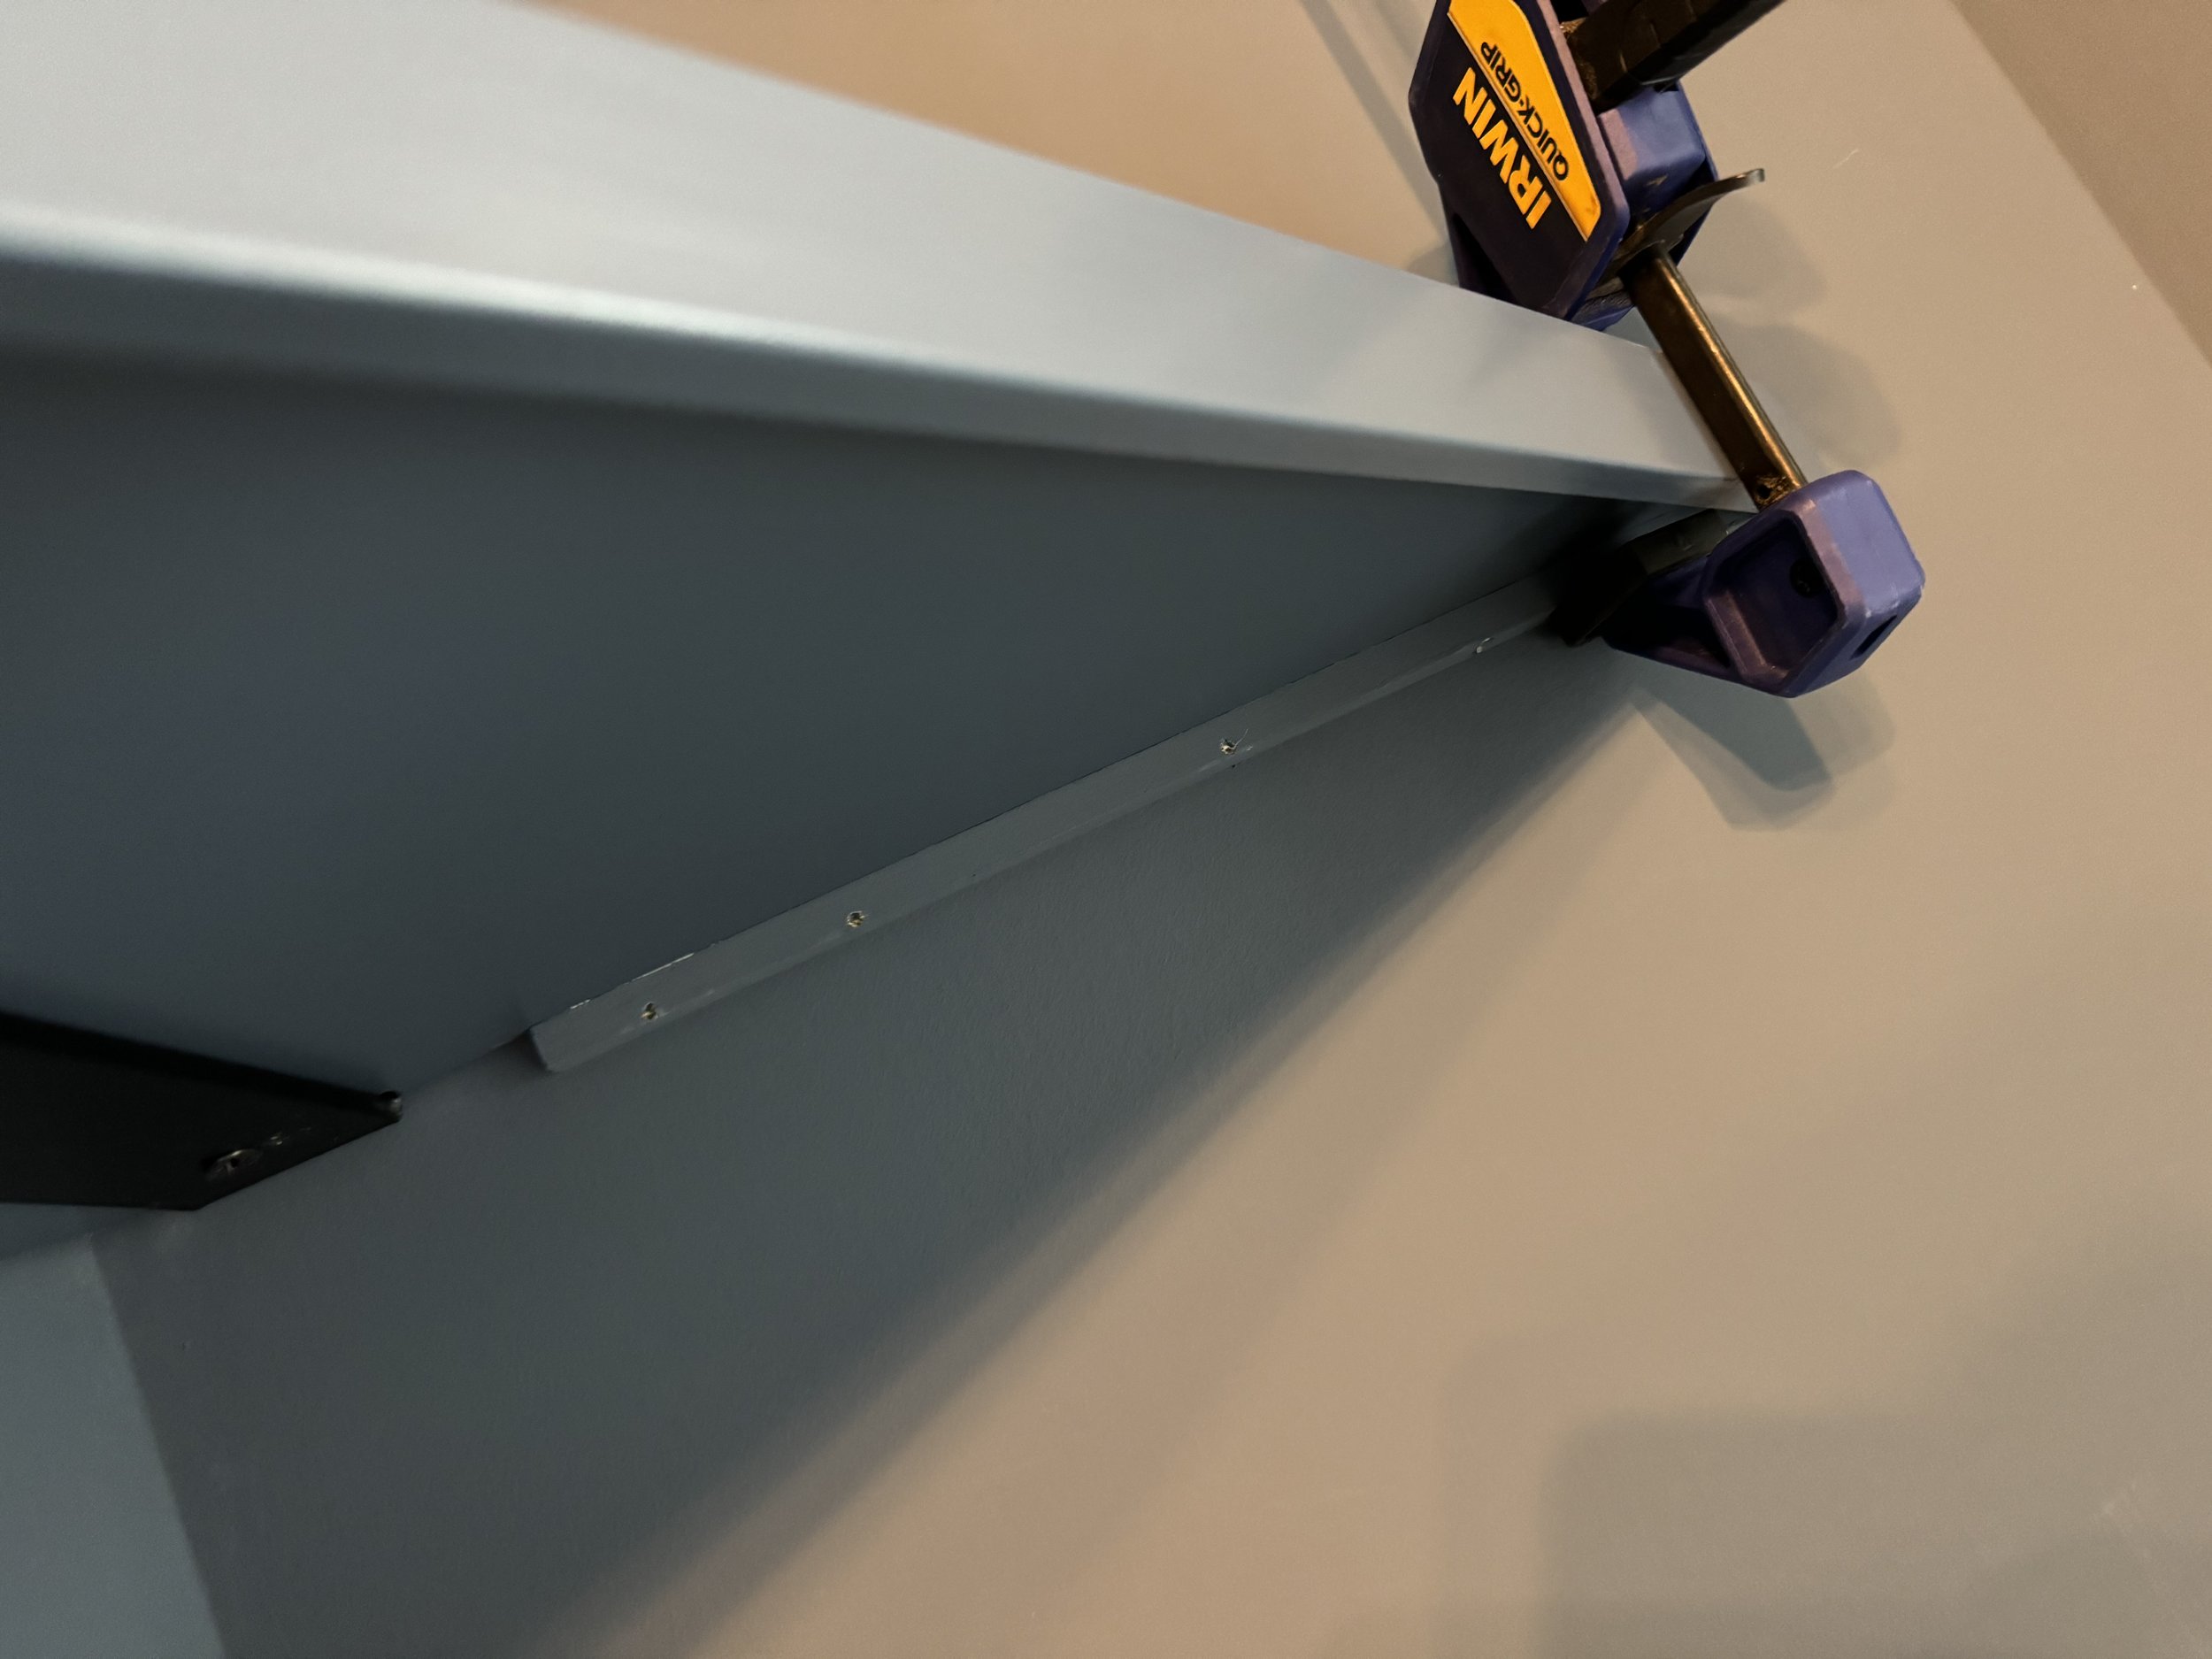
First I constructed a middle frame:
I used two 8’ 1x12s for each side and attached them using a 4’ 1x12 for the top. I constructed the frame on the ground and then installed it on the wall.
I used a 4’ scrap piece of wood as an additional brace toward the top. This kept the frame corners at a right-angle and allowed me to screw into the studs for more stability. I added these small black braces at the top and bottom for yet another bit of stability.

With the middle frame complete, I then was able to build the bookshelves out from there:
The bottom shelves are 15” from the top of the counter. Each shelf after that is 12” above the next, with four shelves on each side.

I ordered these matte black 10” brackets to support each shelf. I installed 3 per shelf, each on a stud. I used my jigsaw to cut small notches from the shelves to fit snugly around each bracket. I then drilled each bracket to the underside of the shelf. (I’m fine with the brackets being visible.)
I added a small square dowel under each end (on the frame and the wall) for stability and to cover any slight gaps. This likely wasn't needed, but made me feel good.
Finishing
Finally, I did some detailed work to take these built-ins over the finish line.
I added this trim to the front of each shelf using my brad nailer.
I trimmed out the front of the middle shelf by adding a 3/4” square dowl (the same thickness as the board) to bring the frame in front of the trimmed-out shelves. I then nailed a 2.5” piece of wood on top, and followed by gluing this trim on top to cover the nail holes.
I did some caulking, touch-up painting, and installed trim to help close the gaps for a detailed finish.

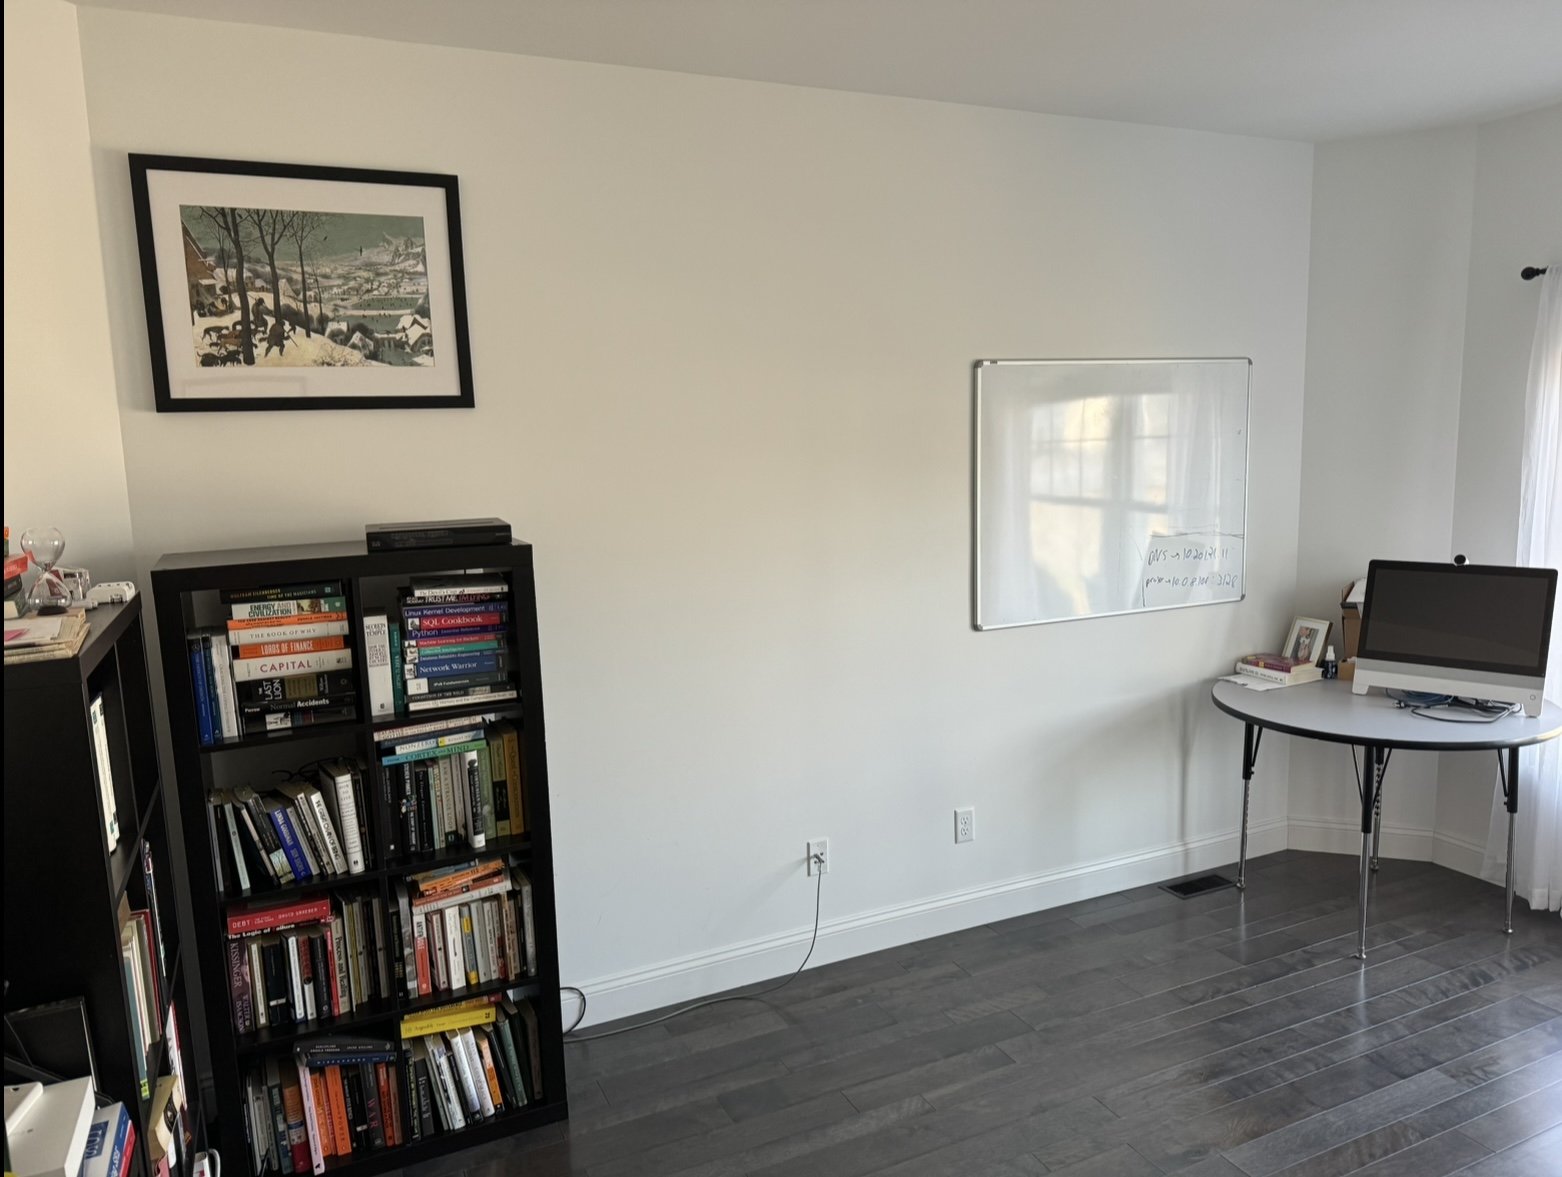
And finally, it was time to get those books back in! When it came to the final styling, I mostly shopped my own home, pulling artwork and furniture from other rooms.
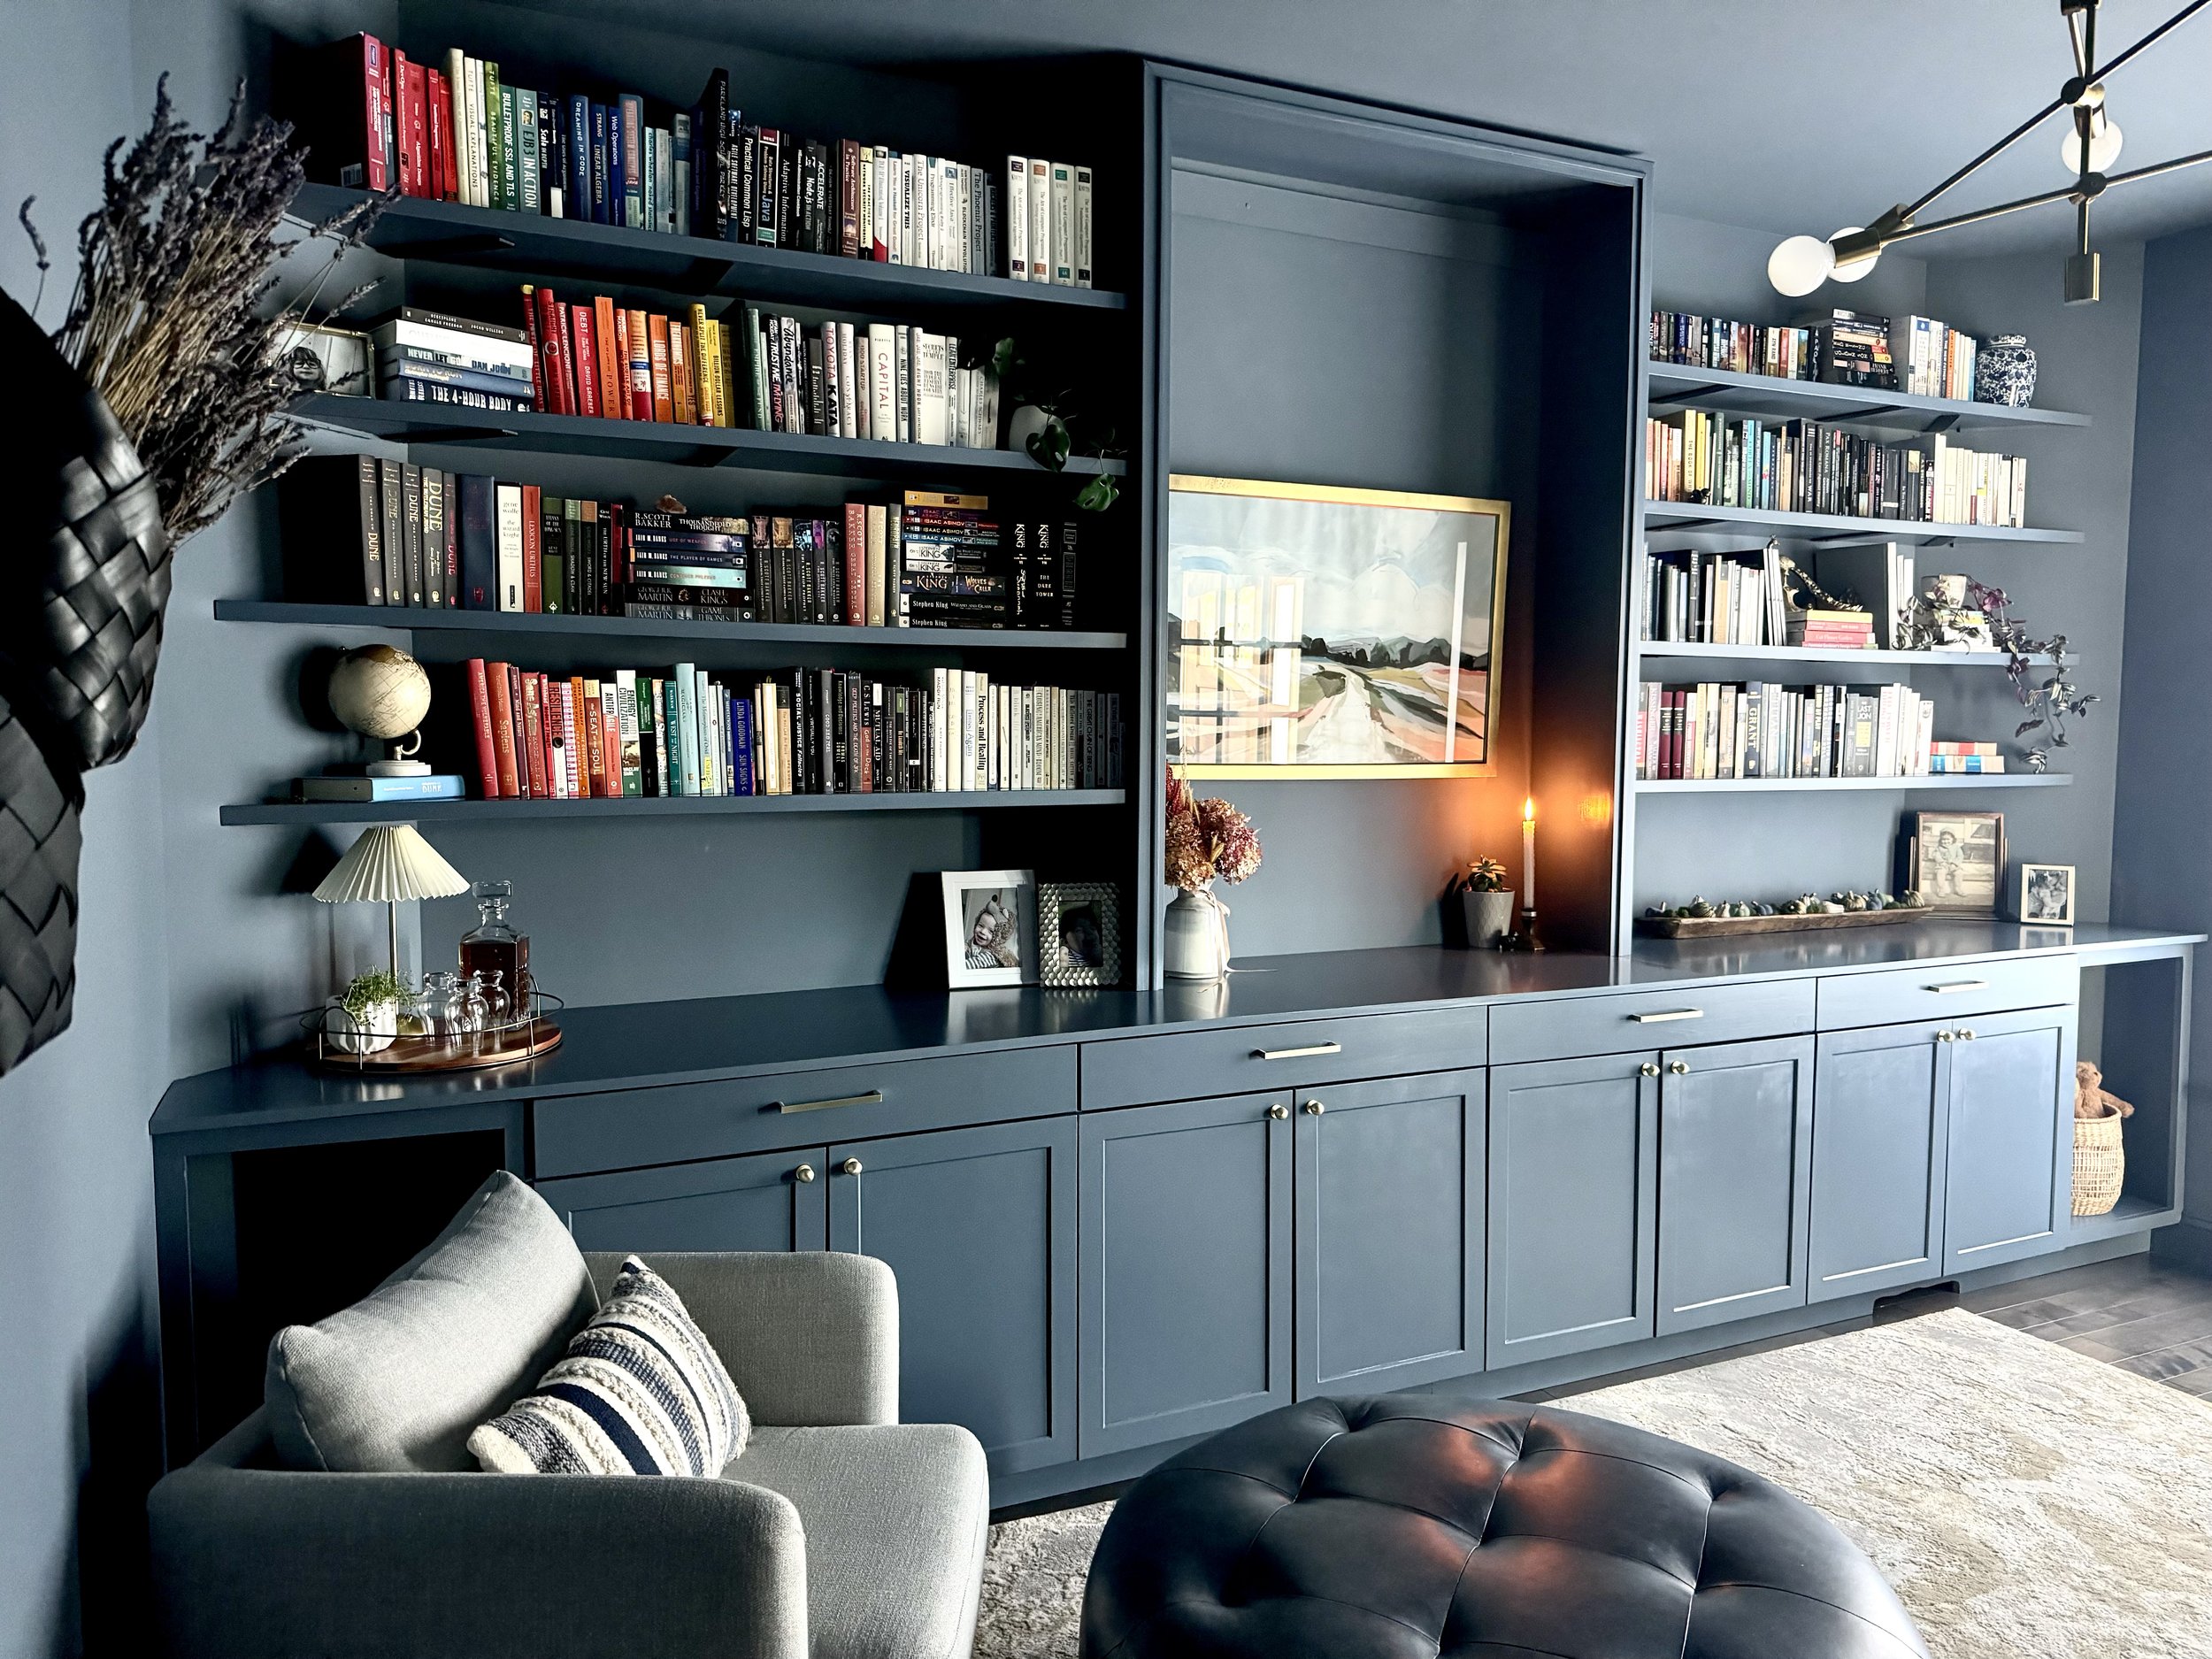
In time, we will likely add more lighting, art, curtains, and furniture. But for now, my heart is full every time I look into this room and see my family reading or playing in here. This entire project has been a labor of love, and I have learned so much through it all. I’m proud to say that I built this, and can’t wait for all the memories we’ll make in our new room.
I’ll leave you with a quick side-by-side comparison of just how far this room has come!
Before

After